SEWING VS EMBROIDERY
- Jul 18, 2023
Where should you invest your time and cash? Below’s what you should understand when contrasting stitching vs. needlework equipment.

6 BEST FREE EMBROIDERY DIGITIZING SOFTWARE IN 2022
- Mar 17, 2024
- Embroidery Digitizing
An embroidery digitizing software lets you make your designs, turn patterns into outline stitches, and embroider text labels, among other things

Color Theory In Machine Embroidery
- Mar 17, 2024
- Embroidery Digitizing
There are so many different colors, and they are so shiny. What should I do with them all? People who embroider get overwhelmed by the hundreds of colors they can choose from.

What is 3D Puff embroidery
- Jul 01, 2023
When you digitize 3D Foam, the process is very similar to how you digitize applique. The only difference is that you cover stitch around the Foam,which makes the high-density satin stitch mostly used.

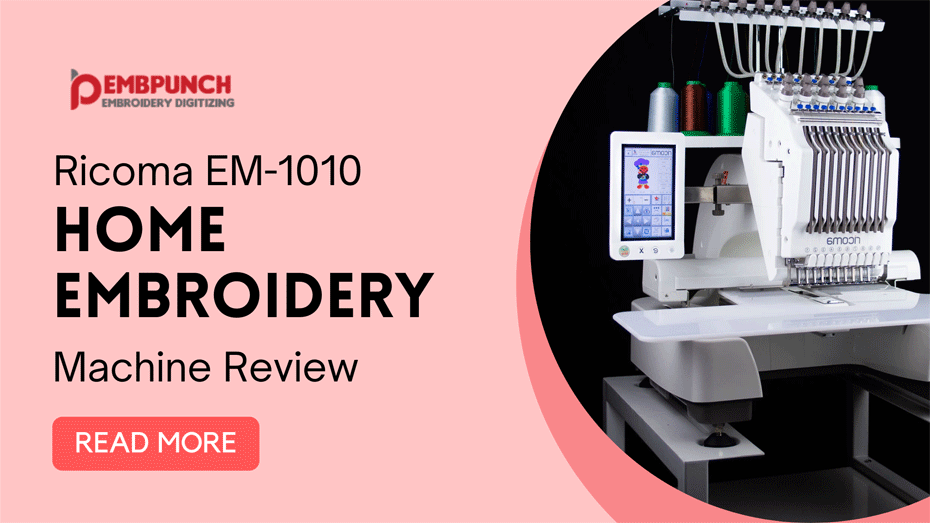
Ricoma EM-1010 Home Embroidery Machine Review
- Mar 17, 2024
- Embroidery Digitizing
The Ricoma EM-1010 home embroidery machine is a cutting-edge embroidery machine with a hefty price tag. It is also regarded as one of the best home multi-needle
.png)
Best Vector Art Designs in Recent Times to Inspire Your Creativity
- Jul 01, 2023
One of the most popular types of digital illustrations is vector art. Simple lines and curves to complex shapes can all be represented in vector graphics.

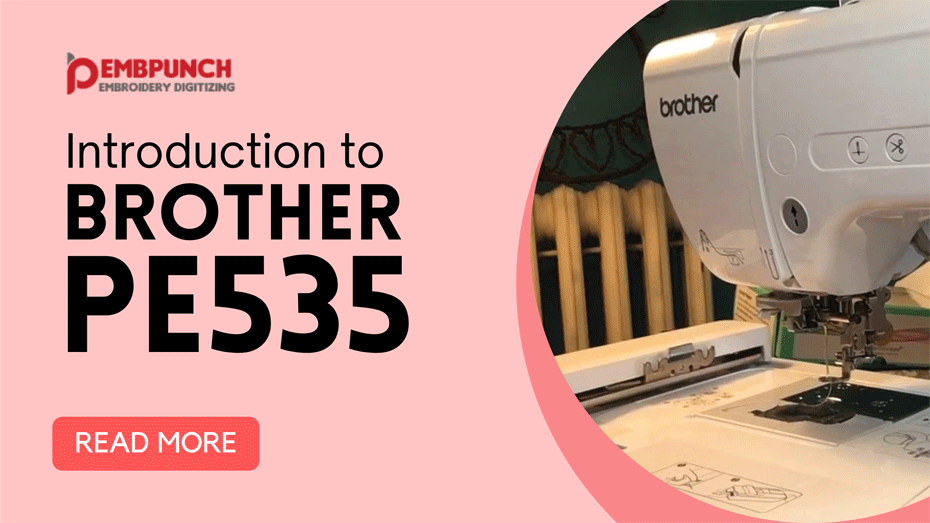
Introduction to Brother PE535:
- Mar 17, 2024
- Embroidery Digitizing
The main feature of the Brother embroidery machine is a large touch screen LCD that allows you to see, modify, and preview embroidery designs

Unraveling the Secrets of Embroidery Digitizing: The Art of Selecting the Perfect Stabilizer for Machine Embroidery
- Jul 18, 2023
Unlock the mysteries of Embroidery Digitizing and become a pro in selecting the ideal stabilizer for flawless Machine Embroidery. Master the art of achieving stunning embroidery results with the perfect stabilizer choice.

How to Choose the Best Embroidery Machines for Your Home Business
- Jul 19, 2023
Discover the best embroidery machines for your home business with our expert recommendations. Make an informed choice and outrank the competition in the world of embroidery artistry.