Embroidery Digitizing
May 19, 2026
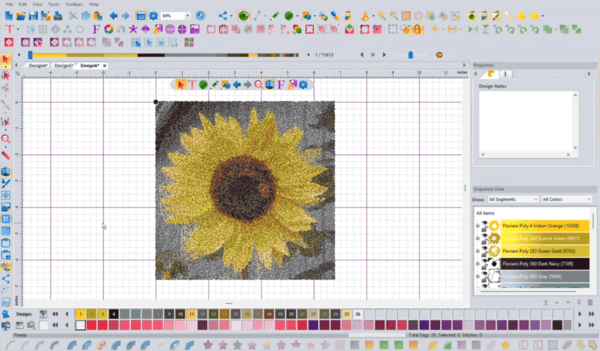
How to Digitize a logo | Beginner's Guide
Learn how to digitize a logo for embroidery for free using SewArt. Step-by-step beginner guide to convert PNG or JPG ima...
Read Article