How to Avoid Embroidery Birds Nest: Experts' Guide
If you've ever pulled a hoop off your machine only to find a tangled clump of thread jammed underneath the fabric, congratulations, you've met the dreaded "embroidery birds nest." It's one of those embroidery hiccups that every stitcher, hobbyist or commercial, runs into sooner or later.
At EMBpunch, we work with embroidery digitizing and apparel decoration clients across the US every single day, and if there's one support question that comes up on repeat, it's some version of "why does my machine keep bird nesting?" This isn't going to be a generic "check your tension" article. We're going deep, thread paths, bobbin cases, hooping, digitizing density, the works. Let's get into it.
What Is Bird Nesting in Embroidery?
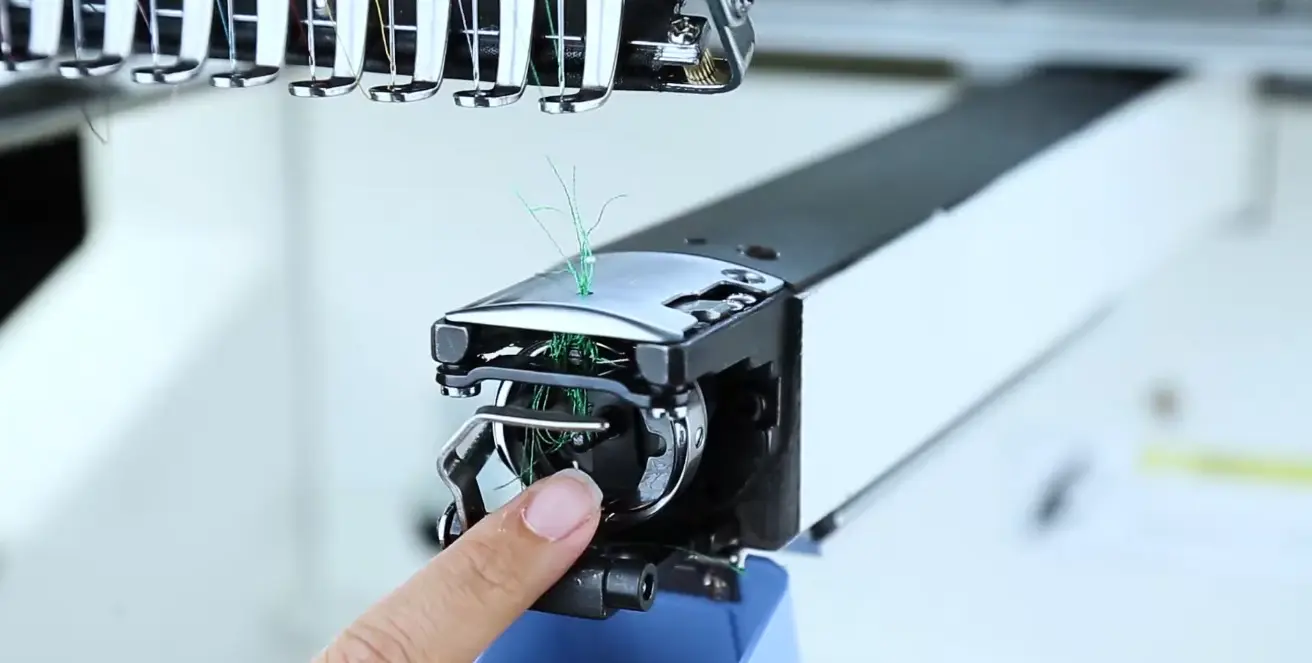
In machine embroidery, a bird's nest (sometimes just called birdnesting or thread nesting) is when the top thread and bobbin thread tangle together into a dense, wad-like clump on the underside of your stitching, right around the needle plate and hook area. From the top, everything can look totally normal. Flip it over, though, and you'll find a mess of loops and knots that's stopped your machine dead in its tracks.
Need a Professional Embroidery File?
If you want clean, production-ready embroidery files, Embpunch provides professional embroidery digitizing services for logos, caps, patches, jackets, polos, and more.
⭐⭐⭐⭐⭐ Trusted by embroidery professionals worldwide.
What Is Birdnesting in Sewing?
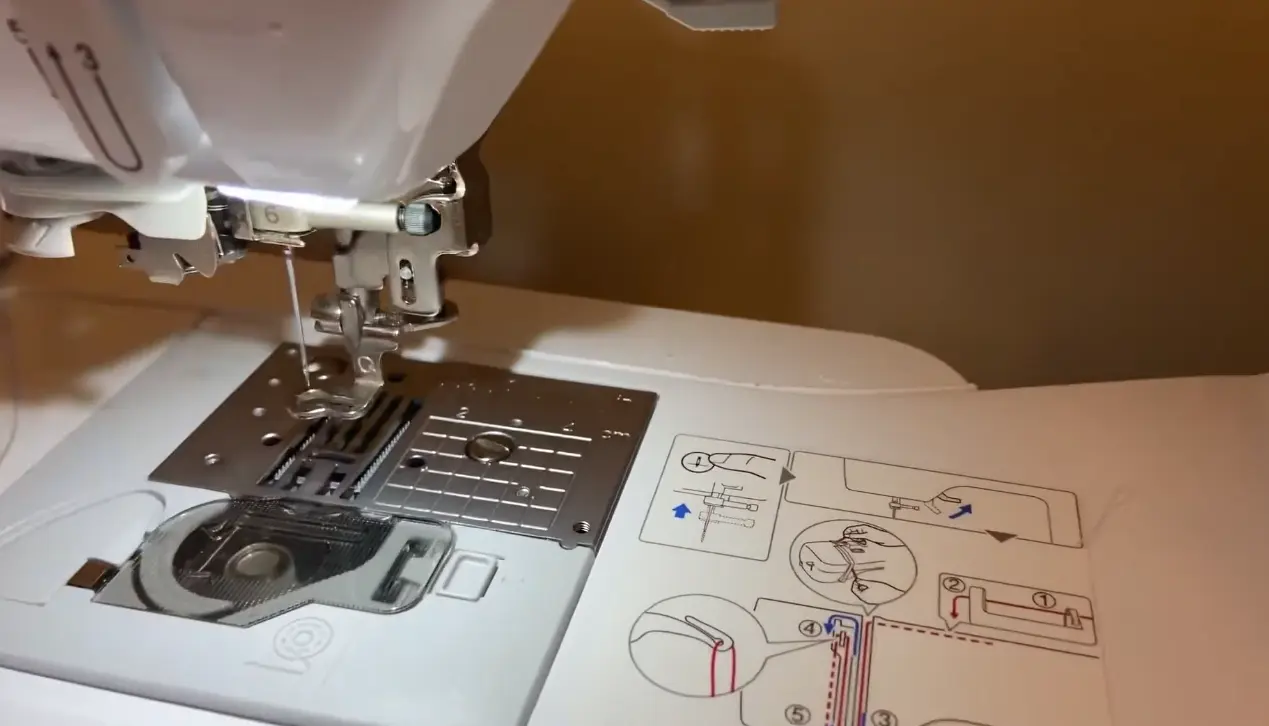
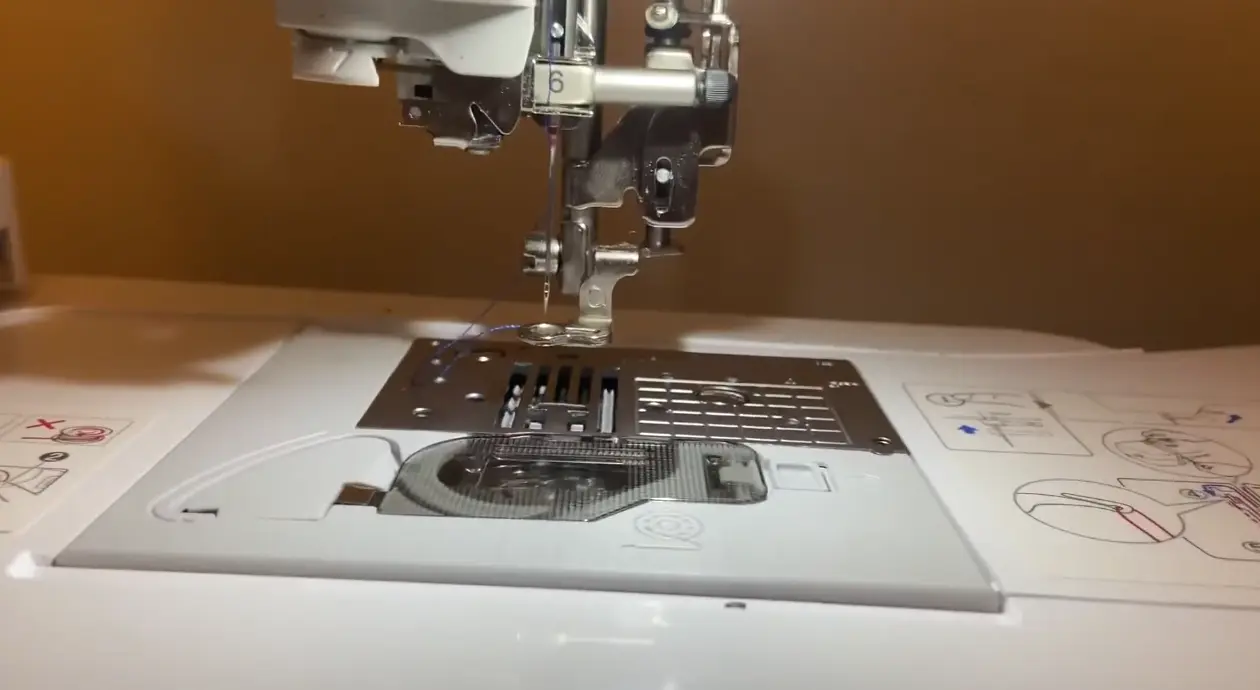
The term isn't exclusive to embroidery machines, it shows up in regular sewing machine terminology too. On a home sewing machine, birdnesting typically happens when the top thread isn't seated properly in the tension discs (often because it was threaded with the presser foot down) or the bobbin thread has too little tension and unspools freely. The visual result is basically the same: a chaotic clump of thread loops, usually on the underside of the fabric, that looks, fittingly, like a little bird's nest.
Quick Note:
Whether you're running a single-head home embroidery machine or a 15-needle commercial rig, the root cause is nearly always some form of thread tangling driven by an imbalance between the top thread and the bobbin thread. Same problem, different scale.
What Causes Bird Nesting on an Embroidery Machine?
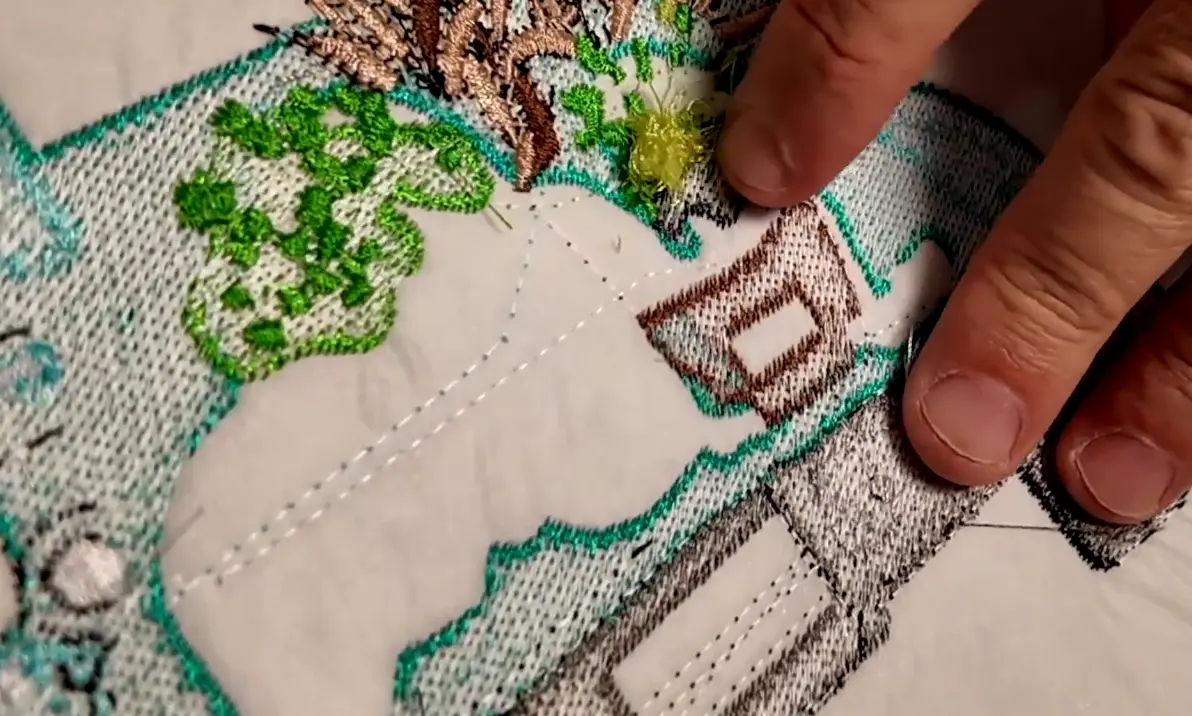
There isn't one single culprit here, bird nesting is more like a symptom that can point to several different root issues. In our experience, it almost always traces back to one (or a combination) of the following.
Improper Top Threading
If you miss a single point in the thread path, say, the thread jumps out of the take-up lever, or it never actually gets seated between the tension discs, the top thread loses the tension it needs to feed smoothly. That loose thread can get caught in the hook assembly, and once it's caught, it starts building on itself. This is one of those threading errors that's shockingly easy to miss, especially if you're rushing through setup on a busy production day.
Quick Note:
On many home machines, threading with the presser foot down actually locks the tension discs shut, so the thread physically can't seat between them. It sounds like a small detail, but it's one of the most common causes of thread tension chaos we see.
Incorrect Thread Tension
This is the big one. Thread tension issues cause the majority of bird nests, full stop. If your bobbin tension is too loose, extra thread unwinds and piles up underneath the needle plate, that's a classic bobbin bird nest. On the flip side, an overly tight bobbin combined with a loose top thread tension can cause looping and nesting too. It's a balancing act, and it's supposed to be dialed in carefully, not eyeballed.
Important:
If you're chasing tension gremlins, start by tightening the bobbin tension screw slightly clockwise, and always check your machine's manual before making adjustments, quarter-turns at a time, not full spins.
Improper Bobbin Threading/Placement
As silly as it sounds, forgetting to insert the bobbin case entirely, or inserting the bobbin backwards, is one of the most common (and most embarrassing) causes of bird nesting. It's happened to nearly every embroiderer at some point, ourselves included. A backward bobbin has next to no tension, which lets it spin freely and create a tangled mess almost instantly.
Improper Hooping & Flagging
Here's one that catches people off guard: flagging. Flagging happens when your fabric isn't hooped tightly enough, and it bounces up and down as the needle stitches. That bouncing motion makes it much harder for the top and bobbin threads to "catch" and lock together properly, and that failure to catch is often the real underlying reason behind a bird's nest, even when tension looked fine on paper.
Flagging shows up most often on caps, since the curved cap ring can prevent the fabric from lying completely flat in the hoop. If you're doing a lot of cap embroidery and fighting recurring nests, this is usually where to look first.
Lack of Maintenance
If you've checked threading, tension, bobbin placement, and hooping and you're still getting nests, it's probably time to clean your machine. Lint and thread shreds build up under the needle plate and around the bobbin case over time, and an unkept rotary hook area causes both thread breaks and bird nesting. A small brush or a can of compressed air (careful with home machines, you don't want to blow debris further into the mechanism) goes a long way.
Design Density & Digitizing Issues
This is where our world at EMBpunch comes in, because sometimes the machine isn't the problem at all. It's the online digitizing.
An overly dense, "bulletproof" design can make it hard for the needle to penetrate the fabric cleanly, which pulls thread from the needle and disrupts the stitch formation entirely. Small lettering digitized at too high a density is a classic offender, many digitizers default to something like a 4.2 density setting, which honestly can be too tight for letters under half an inch. We always recommend adjusting stitch density based on letter size and fabric type, not just running a one-size-fits-all setting.
Why Is My Embroidery Machine Bird Nesting? (Quick Diagnostic Checklist)
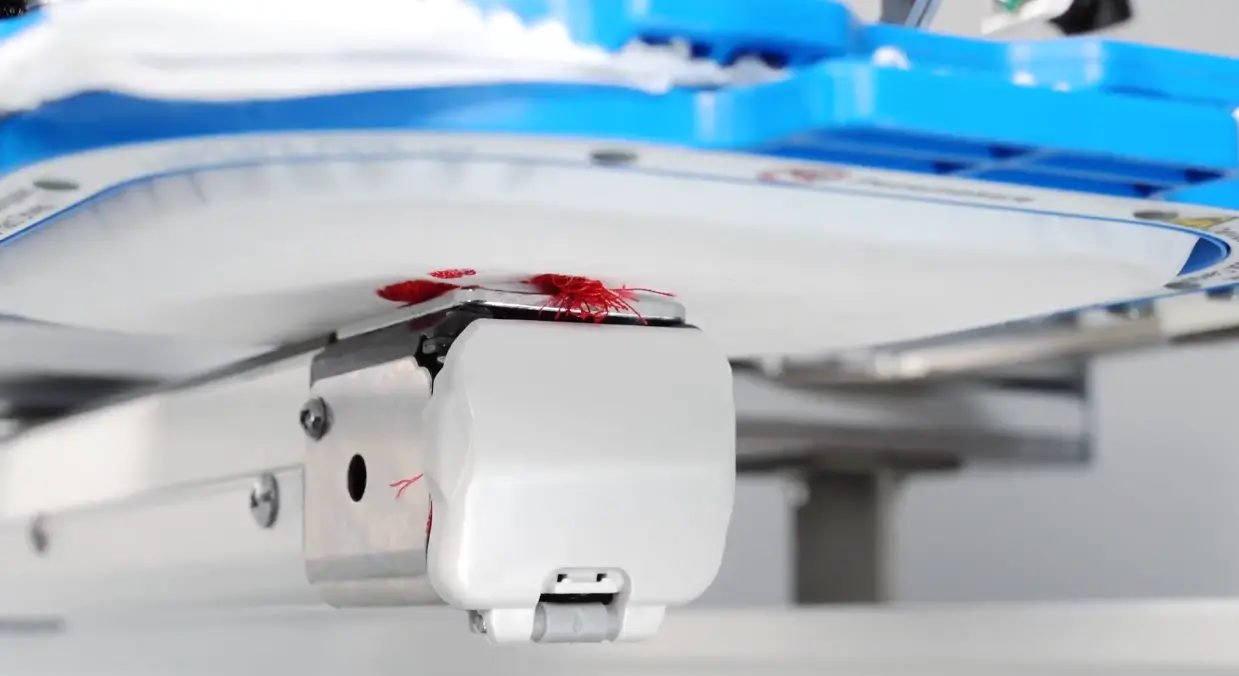
If you're mid-production and just want a fast troubleshooting pass, run through this list in order:
-
Is the bobbin case inserted? Pull it and check, you should hear a click when it's seated correctly.
-
Is the bobbin inserted the right way? A backward bobbin has almost no tension.
-
Retrace your top thread path with your finger. Did it skip a tension disc or the take-up lever?
-
Check your hoop. Is the fabric taut, or does it flex when you press on it?
-
Look at the needle plate area. Any built-up lint, thread shreds, or burrs?
-
Consider the design itself. Is it unusually dense, or does it have very small lettering?
-
On commercial/tubular machines, has hook timing or needle bar height been checked recently? Mechanical drift on commercial heads can cause recurring nests that have nothing to do with your setup at all.
How to Avoid Embroidery Bird's Nest: Step-by-Step Guide
Thread and Re-Thread Correctly, Every Time
We know, it's tempting to skip re-threading when you're just changing colors quickly on a small run. Don't. Always thread with the presser foot up so the tension discs are open, and physically trace the thread path with your finger from spool to needle. It sounds tedious. It is tedious. It's also the single cheapest insurance policy against nesting that exists.
Balance Your Tension
Get comfortable with your tension knobs and your bobbin tension screw; you'll be adjusting them more than you'd like, especially when switching between thread types (rayon vs. polyester vs. metallic all behave differently). A properly adjusted bobbin case often means you rarely have to touch the top tension at all, which is honestly the goal.
Hoop Securely, Every Single Time
Loose hooping causes flagging, and flagging causes nests, we said it above, but it's worth repeating because it's that common. Securely hooped fabric beats "floating" fabric every time, in our experience. If you're doing caps regularly, invest in proper cap hooping equipment rather than trying to force a flat-fabric hoop to work.
Clean and Maintain Your Machine
Build a habit, not a "when I remember" thing, an actual habit, of brushing out lint from under the needle plate and around the bobbin area at the end of each production run. Watch for "thread break" error messages too; sometimes it's not a real thread break at all, but an early warning sign of nesting starting to form.
Choose the Right Needle and Thread Pairing
Needle selection matters more than people think. If you're running high stitch density or particularly elastic fabric, size up your needle, a 70/10 might need to become a 75/11 or 80/12 so the thread passes through the eye more smoothly. Working with metallic thread? Consider an 80/12 or even a 90/14. And make sure your needle orientation is correct; needles have a front and back, and getting that backward causes its own set of problems.
Get Your Digitizing Right (Density, Underlay, Stitch Type)
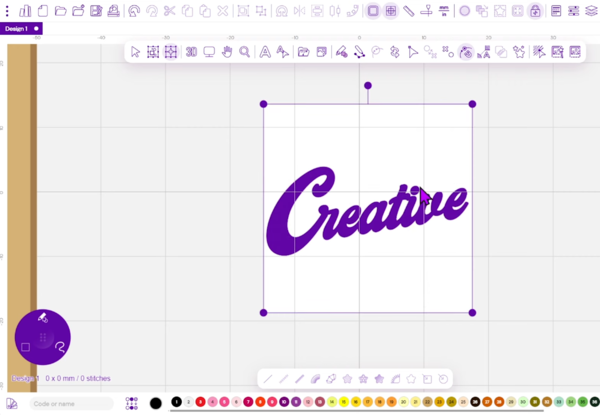
This is the part a lot of general troubleshooting guides skip entirely, and it's exactly where a service like EMBpunch adds value. Good embroidery digitizing software, used well, accounts for stitch density, proper underlay, satin stitch pull compensation, and appropriate stitch type for the fabric and design size. A design digitized without underlay or with excessive density is basically pre-loaded to cause tension problems down the line, no matter how perfectly you thread and hoop.
If you're consistently fighting bird nests on a specific design (rather than randomly across everything you run), it's worth having that file re-digitized or optimized rather than endlessly chasing machine settings. We see this constantly with monogram and lettering files especially, script fonts, in particular, tend to need lower density and careful underlay compared to block letters, since the fine, connected strokes are more prone to pulling and puckering.
How to Fix a Bird's Nest When It Happens
Even with all the prevention in the world, nests still happen sometimes. Here's how to handle it without making things worse:
-
Don't pull or tug on the hoop. You risk tearing the fabric or existing embroidery.
-
Don't start cutting blind. Get a look at what's actually happening underneath first.
-
Don't unhoop unless you truly have to; rehooping at the exact same position and tension is tricky and not always successful.
-
Use the right tools. A curved, double-edged embroidery scissors or a proper "bird's nest toolkit" works far better than regular fabric scissors. Keep the blade angled toward the hook, not the fabric, when cutting away buildup.
-
Remove threads gradually. Pick tightly packed threads out one at a time rather than yanking the whole clump at once.
-
Check for damage afterwards. Inspect the needle plate and bobbin case for scratches or burrs before restarting; a damaged plate will just cause the next nest.
-
If the garment has minor damage (a small hole), a lightweight fusible cut-away backing can sometimes salvage it before you back up the design a few embroidery stitches and resume.
Final Thoughts
Thread carefully, balance your tension, hoop securely, keep your machine clean, and pick needles and stitch settings that actually match your fabric and design. Do those five things consistently and you'll cut your nesting incidents down dramatically.
And if you keep running into nests on one particular design no matter what you try on the machine side, that's usually a digitizing problem, not a you problem. At EMBpunch, we spend our days making sure embroidery files are digitized with the right density, underlay, and stitch type for the fabric they're headed for, precisely so you're not fighting your machine every time you hit start. If you'd like a design looked at or re-digitized, you can check out our services at embpunch.com.
Bird's nests aren't fun, but they're also not the end of the world, or your project. With the right habits (and the right files), you'll spend a lot less time cutting tangled thread and a lot more time actually embroidering.