Professional embroidery digitizing services simply means, converting a graphic image into a stitch file that an embroidery machine can read. This detailed guide will walk through the process step-by-step to ensure a professional and precise outcome for logo digitizing for embroidery.
1. Understand the Basics
![]()
Before starting to digitize a logo for embroidery, it should be understood that online embroidery digitizing means converting a digital image, such as a logo, into a format that an embroidery machine can use to sew the design onto fabric. The process of embroidery digitizing logo requires careful attention to detail and the use of specialized software to ensure that the final product is accurate and high-quality.
It must also be noted that the quality of the original logo plays a crucial role. High-resolution images with clear, defined edges will result in a better digitized logo. Therefore, the logo should be prepared appropriately before the digitizing process begins.
Need a Professional Embroidery File?
If you want clean, production-ready embroidery files, Embpunch provides professional embroidery digitizing services for logos, caps, patches, jackets, polos, and more.
2. Gather Your Tools
![]()
The necessary tools must be gathered to begin digitizing a logo. A computer equipped with digitizing software, such as Wilcom, Hatch, or Brother's PE-Design, will be required. The logo file should be available in a high-resolution format, preferably PNG or JPEG.
An embroidery machine that is compatible with the chosen software will also be needed. Additionally, various threads, needles, and stabilizers must be at hand to ensure a smooth process from digitization to the final embroidered product.
3. Choose Your Digitizing Software
![]()
The appropriate embroidery digitizing software should be chosen based on specific needs and budget. Popular software options, including Wilcom, Hatch, and Brother's PE-Design, offer a range of features that facilitate the creation of high-quality embroidery designs.
Each software comes with unique tools and capabilities that can aid in the embroidery logo digitizing process. Therefore, a careful comparison of these software options should be made to select the one that best meets the requirements for digitizing the specific logo.
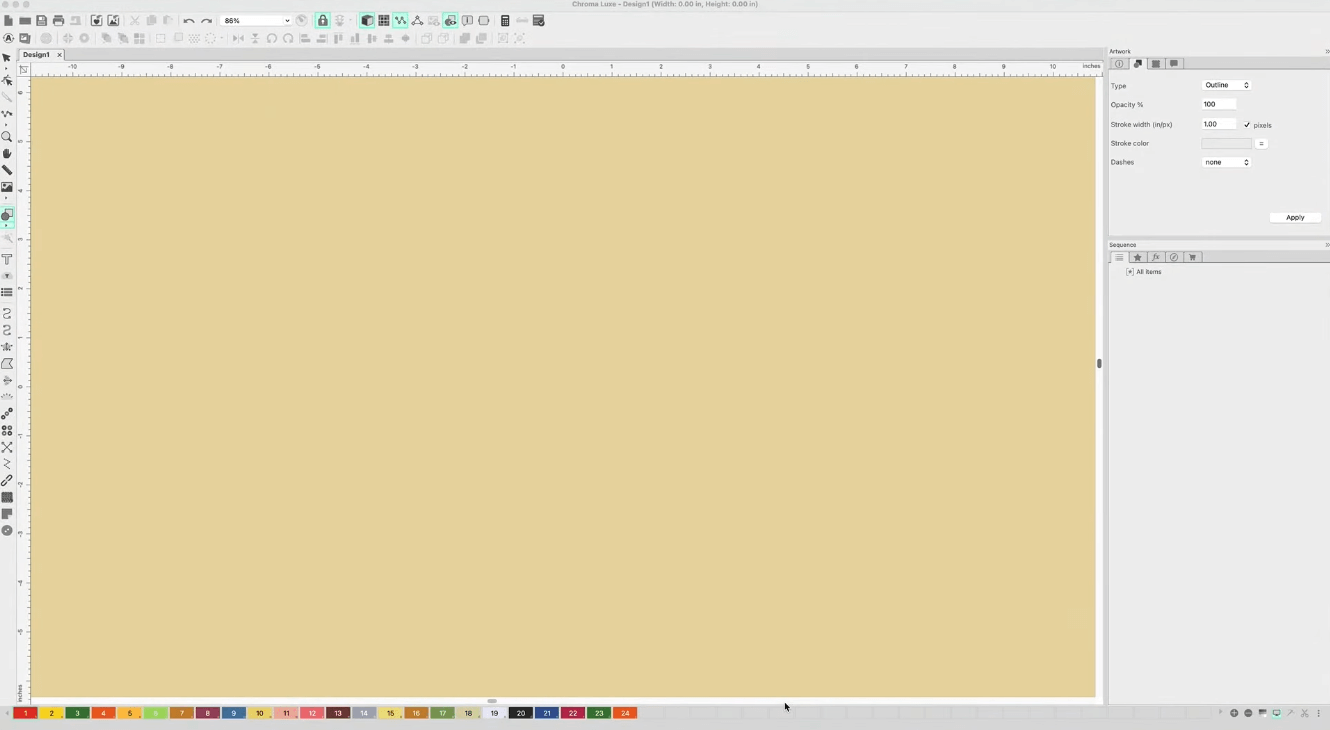
4. Import the Logo
![]()
The logo file should be imported into the chosen digitizing software. This step involves opening the software and selecting the import function to bring the high-resolution image into the workspace.
Ensuring the image is clean and has high contrast is crucial, as this will simplify the digitizing process. Any unnecessary background elements should be removed before importing the logo format for embroidery.
5. Set Up Your Design Parameters
The design parameters must be set up in the software. This includes deciding the size of the embroidery design, ensuring it fits within the embroidery hoop intended for use. Additionally, appropriate stitch types should be selected for different parts of the logo.
Color choices for the thread should be defined, matching the colors in the logo as closely as possible. These initial settings of digitizing the embroidery logo will guide the rest of the digitizing process and ensure the final product is accurate and visually appealing.
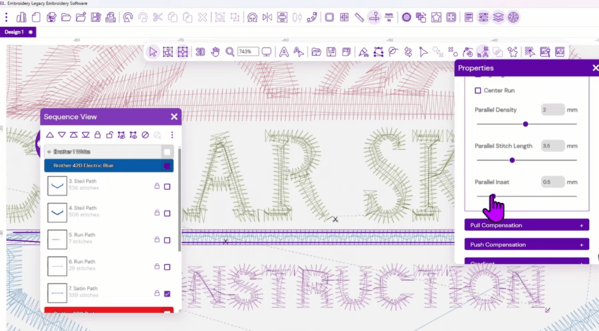
6. Outline the Design
In logo embroidery digitizing, the design should be outlined using the software’s tools. This step involves tracing the shapes and defining the paths the embroidery machine will follow. Precision during this step is crucial to ensure the accuracy of the final stitched logo.
Each part of the logo must be carefully traced to create a clean outline. This outline will serve as the foundation for applying stitches and must be accurate to achieve the best results.
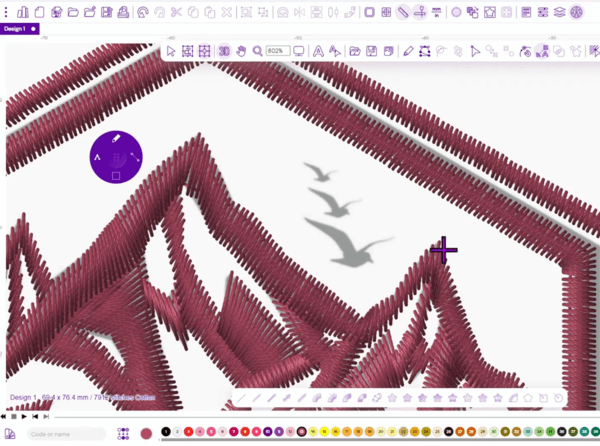
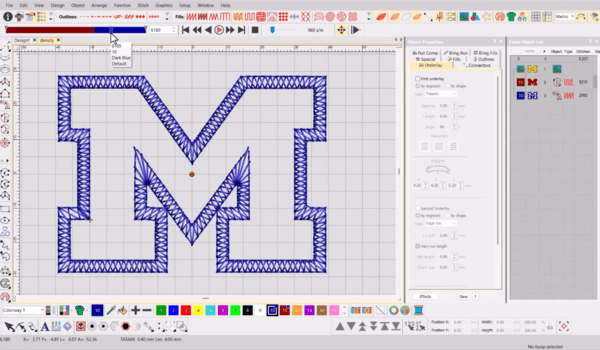
7. Apply Stitches
![]()
Stitches should be applied to the outlined design. Different stitch types, such as satin, fill, and running stitches, should be assigned to various parts of the logo. Each stitch type offers a unique look and texture.
The stitch density and direction should be adjusted to enhance the appearance of the logo. Proper stitch application will ensure that the final embroidered logo is detailed and professional-looking.
8. Adjust Stitch Density and Direction
The stitch density and direction must be adjusted to prevent fabric puckering and ensure a smooth finish. Adjusting these settings will affect the texture and visual appeal of the final embroidery.
By experimenting with different stitch densities and directions, the best combination for the specific logo can be determined. This step is crucial for achieving a high-quality embroidery design.
9. Add Underlay Stitches
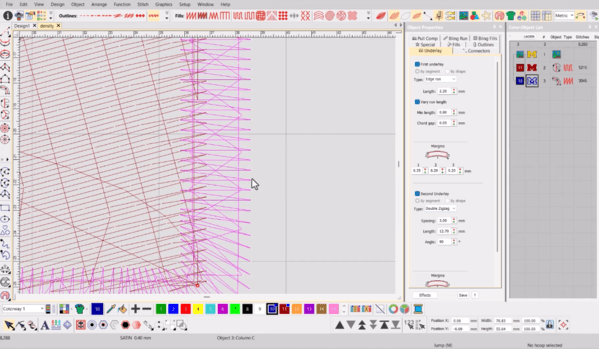
Underlay stitches should be added to stabilize the fabric and ensure that the top stitches lie smoothly. Different types of underlay stitches can be used based on the fabric and design needs.
These underlay stitches will help in achieving a cleaner finish by preventing the fabric from shifting during the embroidery process. This foundational step is essential for a professional-looking final product.
10. Preview and Edit
The design should be previewed using the software’s preview feature. This allows for a visual check of how the design will look when stitched. Any necessary adjustments can be made at this stage.
By carefully reviewing the design, potential issues can be identified and corrected. This step helps ensure that the final embroidery will match the intended design accurately.
11. Save and Export the Design
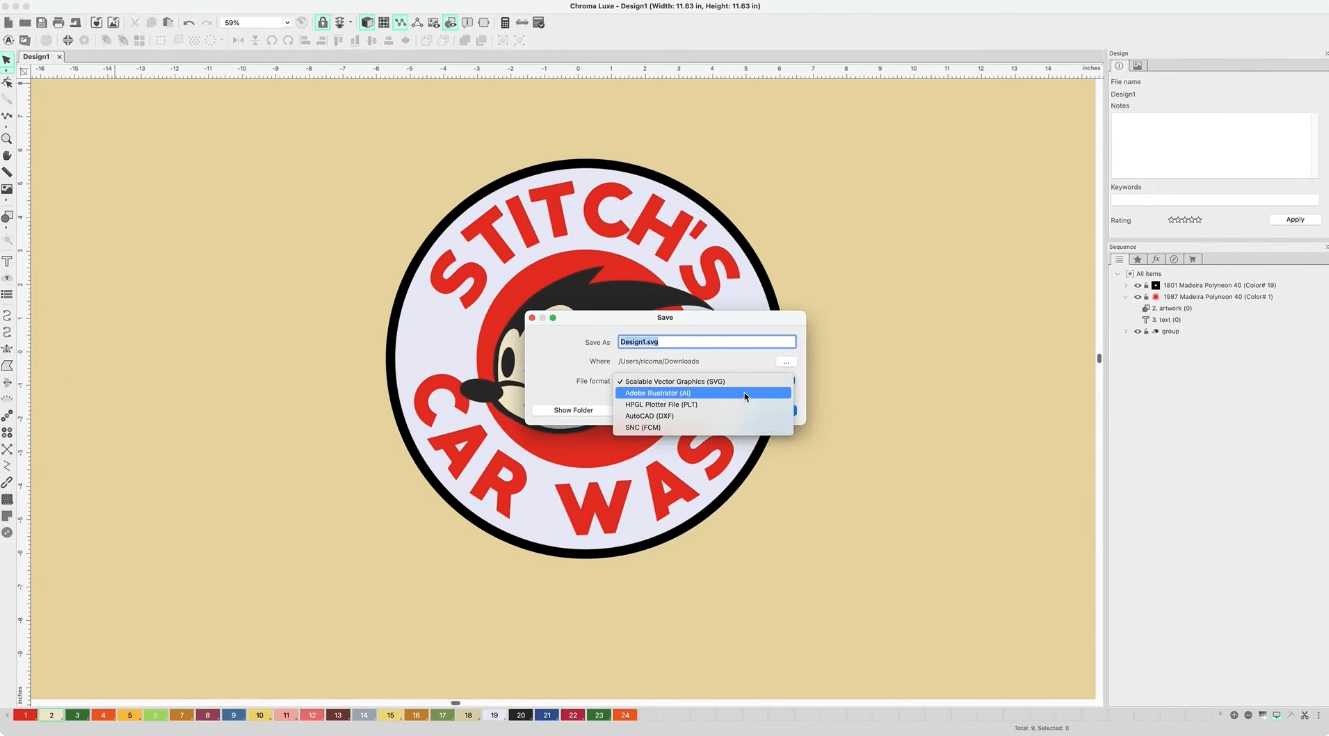
The design should be saved and exported in the appropriate format for the embroidery machine. Common formats include .DST, .PES, and .EXP. The correct format ensures compatibility with the embroidery machine.
Saving the design also provides a backup that can be revisited and edited if needed. Exporting in the right format is essential for seamless transfer to the embroidery machine.
12. Test the Design
A test run of the design should be performed on a scrap piece of fabric. This step helps identify any issues and allows for final adjustments to be made.
Testing the design ensures that the final embroidered product will be of high quality. It allows for corrections to be made before stitching on the final fabric, saving time and materials.
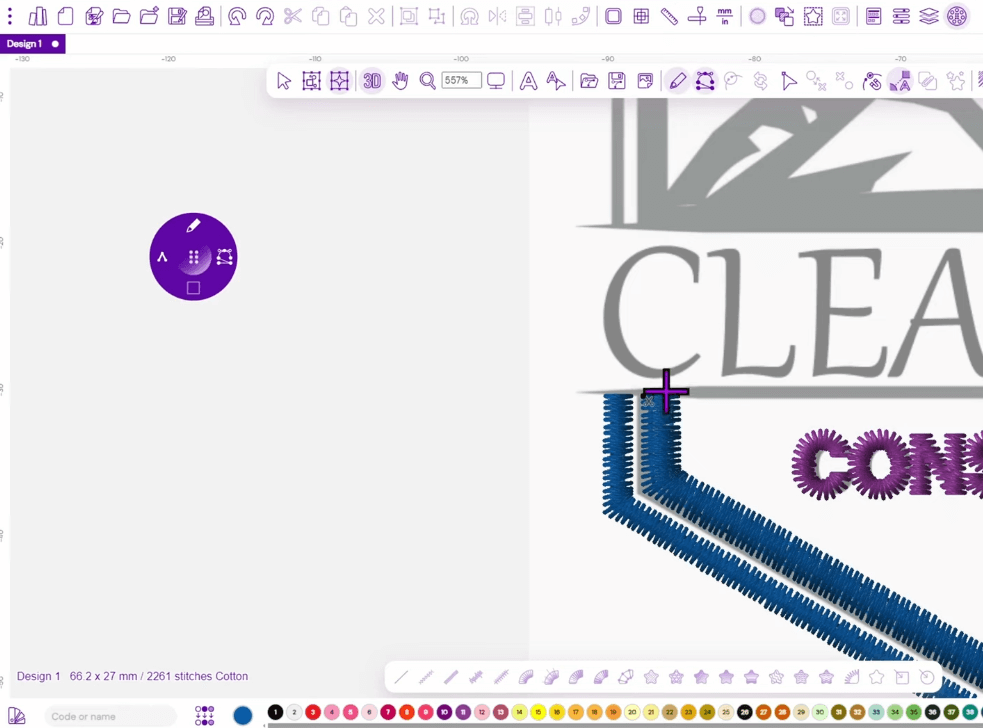
13. Final Adjustments
![]()
Any problems identified during the test run should be addressed. This may involve tweaking stitch types, density, or underlay stitches.
Making these final adjustments ensures that the design is perfect before the final embroidery. This step is crucial for achieving the desired results.
14. Embroider the Final Product
![]()
The final design should be loaded into the embroidery machine, and the stitching can begin on the final fabric. The process should be monitored to ensure everything runs smoothly.
By carefully following the steps and making necessary adjustments, a high-quality embroidered logo can be achieved. The final product will reflect the effort and precision put into the digitizing process.
Conclusion
Digitizing a logo for embroidery requires precision and practice. By following these steps and using good digitizing software, high-quality embroidery designs can be created. Testing and adjusting designs ensure the best results, making your projects stand out.
FAQs
What is digitizing in embroidery?
Digitizing in embroidery is the process of converting a digital image into a stitch file that an embroidery machine can read to sew the design.
What software is best for digitizing logos?
Popular software options include Wilcom, Hatch, and Brother's PE-Design.
Why are underlay stitches important?
Underlay stitches stabilize the fabric and ensure top stitches lie smoothly, enhancing the final design's quality.
How do I prevent fabric puckering?
To prevent fabric puckering, make sure it's hooped tightly and use the right stabilizer.
Can I digitize any logo for embroidery?
Yes, but complex logos may require simplification to ensure they stitch well on fabric.