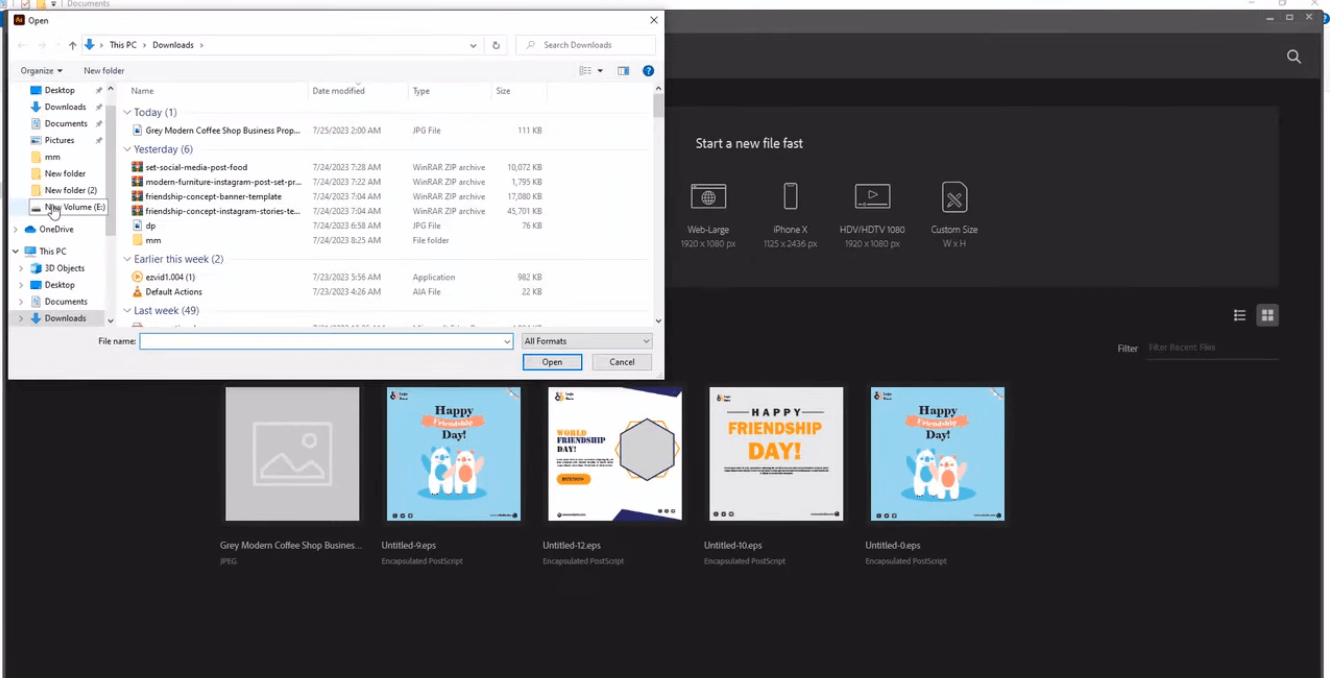
When selecting and utilizing software for converting a JPEG to a vector file, you'll need applications like Adobe Illustrator, CorelDRAW, or Inkscape. These programs come equipped with features for transforming raster images into vector format. Once you import your JPEG into the selected program, you'll utilize the auto-tracing or manual tracing tools to generate the vector shapes. After you are content with the conversion, simply save the new image in your chosen vector format. There are several factors to keep in mind when choosing and using software, and if you're new to this, it's beneficial to stay tuned - you'll learn a lot more tips and tricks. All in all, this is usually a day to day task of an online embroidery digitizer.
Understanding JPEG and Vector Files
To start our discussion, let's explore the distinct features of JPEG and vector files, two contrasting formats that have significant roles in the world of digital imagery.
JPEG, a raster image format, is often used for photographs and web graphics. Its lossy compression method makes it less ideal for images requiring quality retention when upscaled.
On the other hand, we've vector files. These are based on mathematical equations, allowing for scalability without loss of quality. They're perfect for logos, illustrations, and designs requiring sharp lines and clarity.
Now, why convert a JPG to a vector? Simply put, converting preserves image quality and allows for easy resizing, making vector formats like SVG, AI, and EPS preferred for professional design and printing.
Need a Professional Embroidery File?
If you want clean, production-ready embroidery files, Embpunch provides professional embroidery digitizing services for logos, caps, patches, jackets, polos, and more.
Choosing the Right Software
Choosing the right software for converting JPEG to vector is critical.
We'll compare different vector software like Adobe Illustrator, CorelDRAW, Inkscape, and online converters like Vector Magic, focusing on their essential features.
We'll also consider the cost implications to guide you towards the best decision for your needs.
Comparing Different Vector Software
When selecting the right vector software, it's important to evaluate the key features, tools, and capabilities of options like Adobe Illustrator, CorelDRAW, and Inkscape.
With Adobe Illustrator, you get a robust suite of tools that cater to a wide array of design needs, including creating vector images. It's renowned for its advanced functionalities, but it's also a bit pricier.
On the other hand, CorelDRAW is a user-friendly software with a straightforward interface, but it may lack some advanced features. Inkscape, a free, open-source software, is a solid choice for beginners, offering a good balance between functionality and ease of use.
The decision ultimately depends on your specific needs, budget, and proficiency level. Always remember to check community support, online tutorials, and customer reviews before making a choice.
|
Software Name |
Primary Features |
Cost or Pricing Model |
Pros |
Cons |
Target User Level |
|
|---|---|---|---|---|---|---|
|
Adobe Illustrator |
Auto-tracing, manual tracing, Image Trace panel, path closeness control, corner roundness control |
Starts at $20.99/month |
Robust suite of tools, advanced functionalities, advanced controls for precise conversion |
Pricier compared to other options |
Professional |
|
|
CorelDRAW |
Auto-tracing, manual tracing tools |
One-time purchase (around $499.00) |
User-friendly, straightforward interface, cost-effective as a one-time purchase |
May lack some advanced features |
Professional |
|
|
Inkscape |
Auto-tracing, manual tracing tools |
Free (Open-source) |
Good balance between functionality and ease of use, no financial investment |
Significant stability issues |
Beginner |
|
|
GIMP |
Raster-to-vector functionalities |
Free (Open-source) |
No financial investment |
A steep learning curve |
Professional |
|
|
Vector Magic |
Online conversion, auto-tracing |
($9.95/month) or a desktop license ($295) |
Stand-alone desktop application |
Create excessive, unrefined, or inaccurate paths |
Professional |
|
Essential Software Features
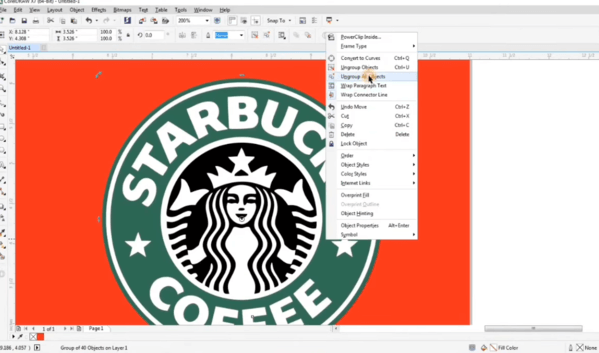
Exploring the sea of vector software, it's essential that I pinpoint features like auto-tracing, color complexity customization, and noise reduction to guarantee accurate vector conversions. I've seen these features particularly prominent in Adobe's suite when I convert JPG to vector. They offer advanced controls for path closeness, corner roundness, and noise adjustments via the Image Trace panel.
Preview boxes for changes, presets like Grayscale and Black and White, and easy export options are also indispensable for a smooth conversion process. Additionally, the ability to ungroup elements, try different tracing styles, and customize colors and drawings are key. These features are paramount in choosing the right software for a seamless and precise conversion of a JPEG to a vector file.
Software Cost Considerations
Understanding the cost considerations of various software options for converting JPEG to vector files is crucial.
Adobe Illustrator, a popular SVG converter, starts at $20.99/month. However, free or open-source alternatives like Inkscape and GIMP offer similar functionalities without a financial investment.
If you prefer a one-time purchase, CorelDRAW Graphics Suite, priced around $499, could be a cost-effective solution.
Comparing the features and pricing of different software is vital to finding the best fit for your budget and specific conversion needs.
Don't overlook potential discounts, promotions, and educational pricing which can optimize cost savings.
Manual Tracing Vs Automated Tracing
In the world of converting JPEGs to vector files, you'll often find yourself choosing between manual tracing and automated tracing.
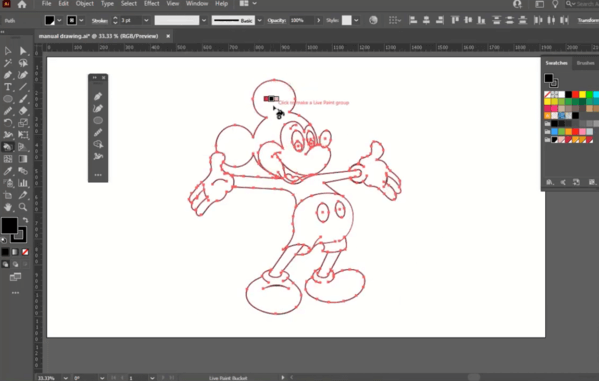
When you convert a JPG to a vector image manually, you're basically drawing vector shapes by hand. It's precise and gives you total control over details, but it's also time-consuming.
On the other hand, automated tracing uses software algorithms to do the job quickly. It's ideal for large-scale conversions but may compromise on detail or accuracy. So, it's a trade-off between precision and speed.
The choice really depends on the complexity of your image and how much control you want over the outcome. Remember, there's no one-size-fits-all in this game.
Steps to Convert JPEG to Vector

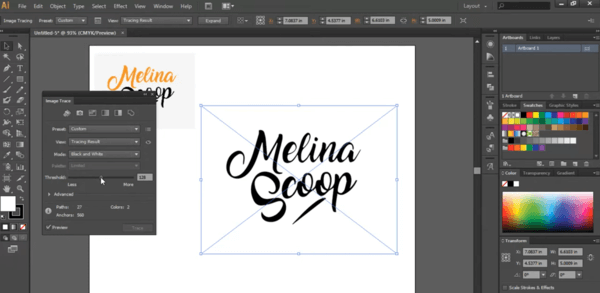
Now that we've weighed the pros and cons of manual and automated tracing, let's map out the steps to convert a JPEG image to a vector format using a tool like Adobe Illustrator. We'll start by uploading the JPEG image to Illustrator. Next, we'll use the Image Trace feature to start the JPG to SVG conversion. With settings like color complexity and paths, we can fine-tune the vector trace. Once satisfied, we'll expand the traced image into separate elements. Finally, we'll save our new vector file, in SVG format for scalable use in design projects.
| Steps | Description | Upload JPEG | Import JPEG to Illustrator | Image Trace | Start JPG to SVG conversion | Adjust Settings | Fine-tune vector conversion | Expand Trace | Split image into elements | Save as SVG | Finalize vector file for scalability
Editing and Refining the Vector Image
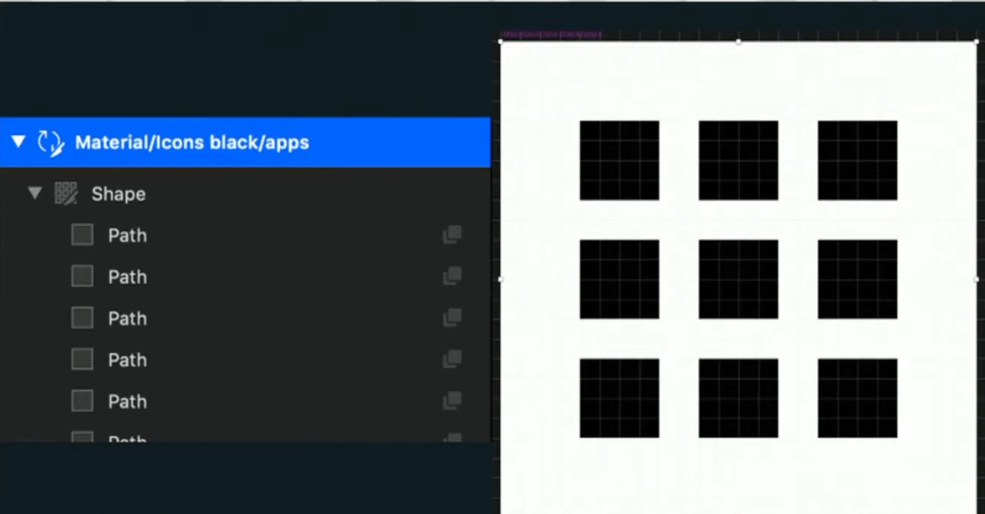
After successfully converting your JPEG to a vector file, it's vital to refine and polish the image using tools like the Pen tool in Adobe Illustrator. This editing tool allows you to adjust anchor points and curves, providing precise control over your vector graphics. I find it incredibly useful when I want to tweak the shapes and paths of my designs.
I also enjoy experimenting with different stroke weights, colors, and effects, as these can greatly enhance the overall look of the vector image. Converting text to outlines is another essential step, maintaining font style and editing flexibility.
Lastly, I apply gradients, patterns, and transparency to add depth and complexity to the design. This refinement process is key when you convert your JPG to vector.
Saving and Exporting the Vector File
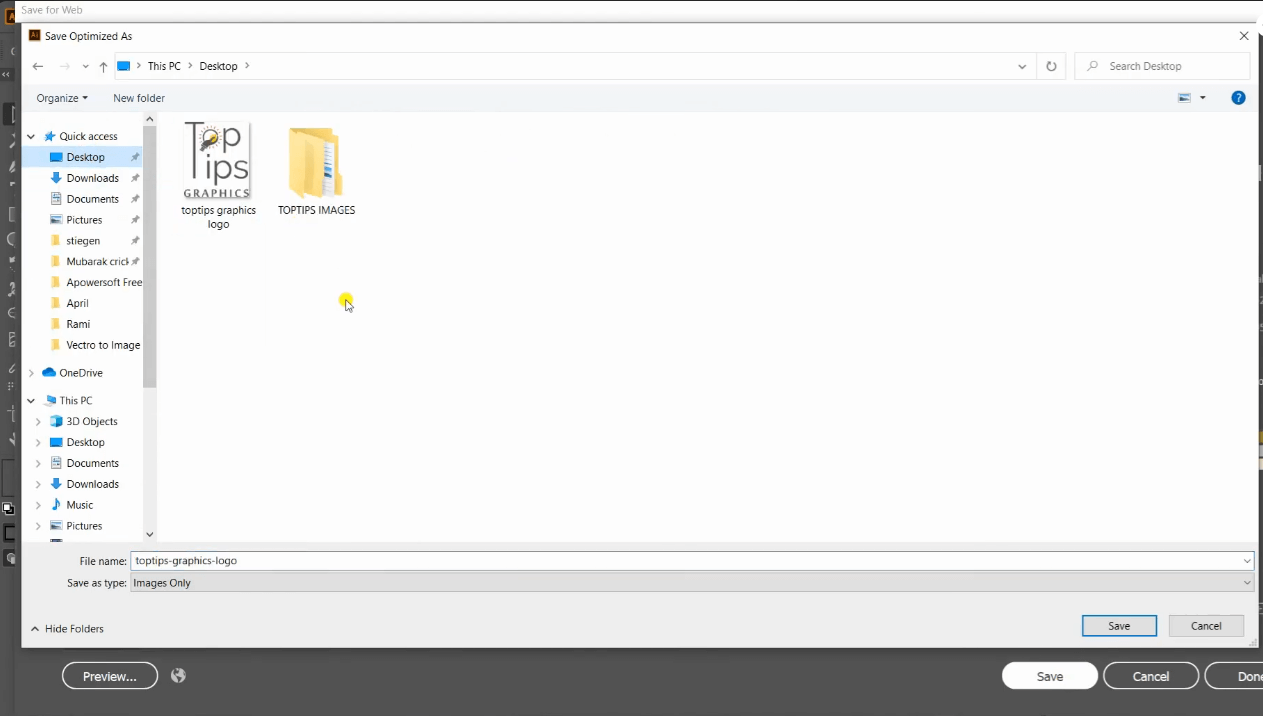
Having polished the vector image to perfection, it's time to save and export the file, guaranteeing its quality and compatibility. When converting JPG to SVG, I choose SVG, EPS, or PDF as the output format for optimal compatibility. Proper resolution settings are essential during exporting to maintain the image quality and scalability.
Here's a table with more details:
| Considerations | Why it Matters | Embedding Fonts/Converting Text to Outlines | Preserves design integrity | Checking for Linked Images/External Resources | Prevents missing elements | Consistent Color Mode (RGB or CMYK) | Ensures proper color representation for printing or web use
Common Issues and Troubleshooting
Let's now focus on some common issues and troubleshooting tips when converting Jpeg to vector files.
We'll look at challenges that may arise, such as loss of detail and color inaccuracies, and how to effectively address these.
I'll also share some ways to overcome typical conversion errors to guarantee the best possible result.
Understanding Vector Conversion Challenges

So, what're some of the challenges you might face when converting a jpeg to a vector file? Well, it's not always a straightforward task. When editing jpg to vector, you want to make sure you're not losing any critical details.
Important:
Auto-tracing processes often result in loss of detail, and precision may be compromised, leading to less accurate results. Understanding the difference between auto-tracing and hand-drawn conversion is essential.
Here are some common challenges:
- Auto-tracing often leads to loss of detail.
- Precision can be compromised in auto-tracing.
- Hand-drawn conversion requires expertise and time for intricate designs.
Converting a jpeg to a vector file can be a tricky process, but with a little knowledge, you can navigate these challenges effectively.
Troubleshooting Jpeg to Vector
While these challenges may seem intimidating, don't worry—I'm here to help you troubleshoot common issues like loss of detail, color accuracy, and smoothness when converting your JPEG to a vector.
If your file lacks crispness, it could be attributed to low resolution in the original image. So, always make sure your JPEG has enough clarity before you start to convert to SVG.
For graphic design, jagged edges and blurred lines can be fixed by refining your tracing process. If color accuracy is an issue, adjusting settings like color complexity may help.
Struggling with a specific problem? Don't hesitate to seek help from online tutorials or forums. Remember, a bit of practice and patience can go a long way in mastering this conversion process.
Overcoming Common Conversion Errors

Finding a way through the maze of common conversion errors, such as loss of detail in auto-tracing processes or inaccurate paths and colors, can be a tricky part of the vector conversion process. But, there are ways to combat these issues without losing your mind.
- Always use a high-quality source image. This simple step can drastically reduce conversion errors when you trace an image to an SVG.
- Review and edit the vector result. This step can help identify and correct any errors or inconsistencies.
- Adjust settings for color complexity and noise reduction. These tweaks can make a significant difference to the conversion outcome.
Tips for Better Vector Conversion

To enhance your vector conversions, consider experimenting with various tracing styles such as sketch art. Start with your JPG image and use tools like the Pen to modify shapes. This can improve the quality of your vector images.
Another important tip is to remove the background. This can reduce unnecessary details and make your vector image stand out.
Always have your preview enabled. It allows you to see the changes in real-time, making it easier to adjust and perfect your vector conversion.
Conclusion
And there you have it, folks! With a little practice and patience, you can swap your JPEGs for vectors just as easily as swapping your horse for a fast car. Remember to choose the right software, be patient during manual tracing, and always refine your vector.
If you hit a roadblock, troubleshoot it like a pro. Follow these tips and you'll be creating crisp, clean vectors in no time. It's like riding a bike, once you master it, you'll never forget how.