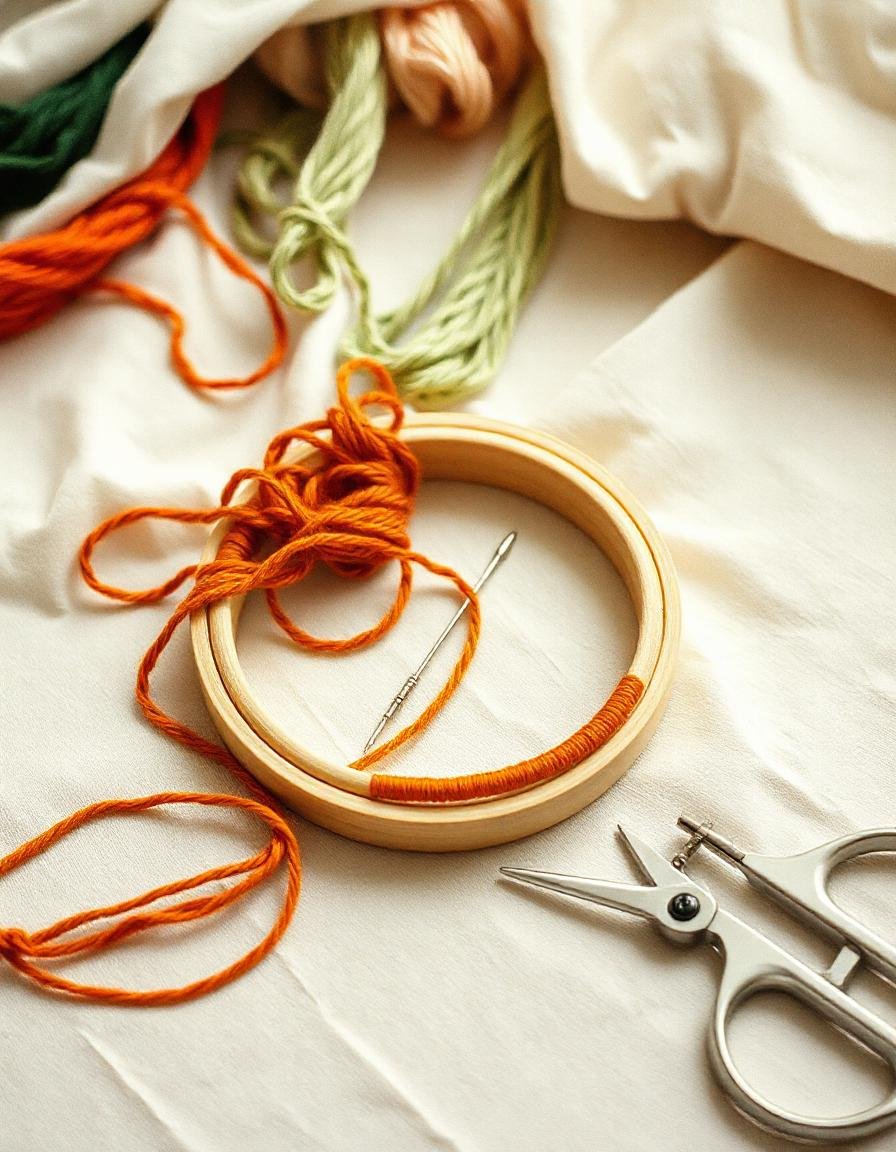
When you’re embroidering, it’s easy to encounter a few common mistakes that can derail your project. Whether it’s tangled threads, uneven stitches, or misaligned designs, knowing how to address these issues can save you time and frustration. You might be surprised at how simple adjustments, like re-threading your machine or tweaking tension settings, can make a significant difference. But before you assume the worst, consider these quick solutions that could transform your work. Let’s explore the steps you can take to guarantee a smoother embroidery experience.
Tangled Thread Troubles
When you encounter tangled threads in your embroidery, it’s essential to address the issue promptly to prevent further damage.
Begin by stopping your embroidery machine or pulling the fabric away from the hoop gently.
Next, carefully examine the tangled area; you might need to snip threads if they’re too knotted. Use a pair of fine-tipped scissors to avoid cutting your fabric.
Once you’ve untangled the mess, re-thread your needle, ensuring the thread is seated properly in the tension discs.
If the issue persists, check the bobbin for any irregularities or jams. Regularly cleaning your machine can help prevent future tangles.
Uneven Stitches Solutions
Uneven stitches can make your embroidery look unprofessional, so it’s crucial to identify and correct the issue quickly. First, check your tension settings; they might be too tight or loose. Adjust the tension and test on a scrap piece first. If the needle’s size isn’t right for your fabric, switch it out for a better fit. Additionally, verify that you’re using the correct thread type; some threads are prone to fraying or breaking.
| Problem | Solution |
|---|---|
| Tension too tight | Loosen the tension |
| Needle size incorrect | Change to the right size |
| Wrong thread type | Use compatible thread |
| Inconsistent speed | Maintain steady speed |
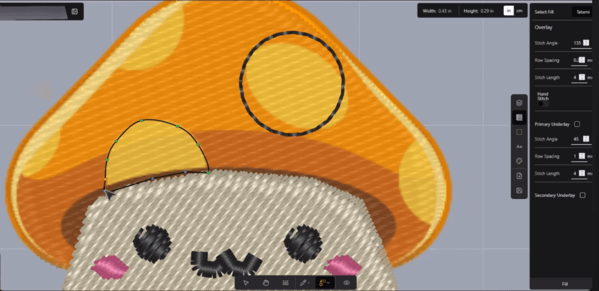
Misaligned Design Fixes
Misaligned designs can ruin the overall appearance of your embroidery, but you can easily fix them with a few adjustments.
First, check your hooping technique; make certain that your fabric is taut and centered.
If the design is off after stitching, you can try to realign it by carefully unpicking the stitches around the misalignment area.
Once you’ve removed the stitches, rehoop the fabric, making sure it’s positioned correctly.
If you’re using software, you can adjust the design’s placement digitally before stitching again.
Finally, consider using alignment marks to guide your placement on future projects.
With these tips, you’ll keep your designs looking sharp and professional every time!
Fabric Bunching Remedies
When you’re dealing with fabric bunching in your embroidery, the right stabilizer can make all the difference.
You should also check your tension settings, as improper tension can lead to unwanted gathers.
Let’s explore how these adjustments can help you achieve a smoother finish.
Choose Appropriate Stabilizer
Choosing the right stabilizer can greatly reduce fabric bunching during embroidery, ensuring a smoother and more professional finish.
Start by evaluating your fabric type; lightweight fabrics often need a tear-away or cut-away stabilizer, while heavier materials may benefit from a thicker, more supportive option. If you’re working with stretchy fabrics, opt for a fusible stabilizer to maintain structure.
Always cut your stabilizer slightly larger than your hoop to prevent slipping.
Remember to test different stabilizers with your specific thread and needle combination, as this can affect the overall outcome.
Adjust Tension Settings
Adjusting your tension settings can greatly help in preventing fabric bunching and achieving a cleaner embroidery design. When your fabric bunches, it often means your tension is off. Here’s how to fix it:
-
Check your thread: Verify you’re using the correct thread type for your fabric.
-
Adjust the upper tension: Increase or decrease it slightly to see how it affects the fabric.
-
Modify the bobbin tension: Loosen or tighten the bobbin tension for better balance.
-
Test before starting: Always do a test stitch on a scrap piece to refine your settings.
Needle and Thread Issues
When you’re embroidering, the right needle and thread can make all the difference.
If you’re facing issues like thread tension troubles or frequent breakage, it’s crucial to assess both your needle type and thread quality.
Let’s explore how these factors can impact your project and what you can do to fix any problems that arise.
Thread Tension Troubles
Getting the thread tension just right is vital for achieving a flawless embroidery finish, as improper tension can lead to a range of issues.
You’ll notice problems like bunching, puckering, or thread breakage if it’s off. To troubleshoot your thread tension, consider these key points:
-
Check the bobbin: Make sure it’s wound evenly and inserted correctly.
-
Adjust the top tension: Experiment with the tension dial to find the sweet spot.
-
Use the right thread: Confirm you’re using thread suitable for your fabric type.
-
Test on scraps: Always test your settings on a fabric scrap before starting your main project.
Needle Types Matter
Choosing the right needle type is just as important as perfecting your thread tension, as it directly impacts the quality of your embroidery. Different fabrics and threads require specific needles to achieve the best results.
For instance, a sharp needle works well with woven fabrics, while a ballpoint needle is better suited for knits. If you’re using thicker threads, consider a larger needle size to prevent thread jams.
Using the wrong needle can lead to skipped stitches, uneven tension, or even fabric damage. Always check the needle’s size and type before starting a project.
Thread Breakage Solutions
Have you ever felt frustrated by thread breakage during your embroidery projects? You’re not alone! This common issue can stem from various factors, but don’t worry—you can fix it quickly.
Here are some solutions to take into account:
-
Check your needle: Verify it’s the right type and size for your thread.
-
Use quality thread: Cheap thread can fray and break easily.
-
Adjust tension settings: Incorrect tension can cause stress on the thread.
-
Replace worn-out parts: A dull needle or damaged bobbin case can lead to breakage.
Color Bleeding Prevention
To prevent color bleeding in your embroidery, always pre-wash your fabrics and test colors before starting your project. This will help you identify any potential issues before they ruin your hard work. Here’s a quick reference table for effective color bleeding prevention:
| Step | Action | Purpose |
|---|---|---|
| 1. Pre-wash | Wash all fabrics | Remove excess dye |
| 2. Test colors | Use test swatches | Check for bleeding |
| 3. Use fixative | Apply fabric fixative | Set colors permanently |
Following these steps can save you from unwanted surprises later on. Keep these practices in mind, and your embroidery projects will look vibrant and professional!
Backing Material Problems
When it comes to backing material, choosing the right type is crucial for a successful embroidery project.
You’ll also need to adjust your tension settings and stabilize your fabric layers to prevent mishaps.
Let’s explore these key points to guarantee your embroidery looks its best.
Choosing Proper Backing Material
Choosing the right backing material is essential, as it directly impacts the quality and durability of your embroidery. If you’re using the wrong type, you might face issues like puckering or poor stitch definition.
To avoid these problems, consider the following factors when selecting your backing:
-
Fabric Type: Match the backing to your fabric’s weight and texture.
-
Stitch Density: Higher density designs require sturdier backing to prevent distortion.
-
Design Complexity: Intricate designs benefit from a more stable backing.
-
Washing Instructions: Choose a backing that can withstand your fabric’s washing conditions.
Adjusting Tension Settings
Adjusting the tension settings on your embroidery machine can greatly improve the final result, especially if you’ve encountered issues related to your backing material.
If your stitches are loose, it might be a sign that your upper tension is too low. Try increasing it slightly to see if that tightens up your stitches. Conversely, if you’re noticing puckering, your upper tension might be too high. Lowering it can help alleviate that issue.
Also, keep in mind that different backing materials require different tension settings. Always test on a scrap piece before starting your final project.
Stabilizing Fabric Layers
To achieve a smooth and professional embroidery finish, properly stabilizing fabric layers is essential for preventing issues like puckering and shifting during stitching.
If you’re facing backing material problems, here are some quick fixes to evaluate:
-
Use the right type of stabilizer for your fabric (tear-away, cut-away, or water-soluble).
-
Make sure the stabilizer is large enough to support the entire design.
-
Layer multiple stabilizers for extra support, especially with stretchy or delicate fabrics.
-
Test your setup on a scrap piece of fabric before starting on the final project.
Design Scaling Difficulties
Scaling a design for embroidery can be tricky, as even slight changes in size can affect the overall look and stitch quality. To avoid common pitfalls, keep these tips in mind:
| Tip | Description |
|---|---|
| Maintain Proportions | Always scale designs uniformly to avoid distortion. |
| Check Stitch Density | Adjust the stitch density to guarantee quality at the new size. |
| Preview Before Stitching | Use software to visualize how the scaled design will look. |
Thread Tension Adjustments
Design adjustments often lead to the need for thread tension tweaks, ensuring that your embroidery maintains its quality and appearance. If you notice uneven stitches or puckering, it’s time to assess your tension settings.
Here are some quick tips to help you get it right:
-
Check the machine’s manual for recommended tension settings for your specific fabric.
-
Test on scrap fabric before starting the actual project to avoid mistakes.
-
Adjust the upper and lower tensions independently to find the perfect balance.
-
Keep an eye on the thread type—different threads may require different tensions.
Hoop Misplacement Corrections
When your embroidery design is misaligned due to hoop misplacement, correcting it quickly can save your project from being ruined.
First, stop the machine immediately to prevent further misalignment. Carefully remove the hoop, taking care not to disturb the fabric.
Check the alignment by placing the design on the fabric to see where it should be. Re-hoop the fabric, ensuring it’s taut and properly aligned with the needle position.
Use tape to mark the center point of your design on the fabric, guiding you when re-hooping. Once secured, run a test stitch on a scrap piece to confirm alignment.
If it’s right, resume stitching. Regularly check your hooping method to avoid future misplacements and keep your projects on track.
Conclusion
In the vibrant world of embroidery, mistakes can feel like unexpected knots in a beautiful tapestry.
But don’t fret! With a few quick fixes, you can untangle those threads and smooth out any wrinkles in your designs.
Embrace the journey of creation, knowing that each hiccup is just a stepping stone to a masterpiece.
So, roll up your sleeves and dive back in—your next stunning stitch is just around the corner!
Frequently Asked Questions
How Can I Choose the Right Fabric for Embroidery?
Imagine weaving your tale on the perfect canvas. To choose the right fabric for embroidery, consider weight, texture, and thread compatibility. Lightweight cotton or linen usually works best, ensuring your design shines without distortion.
What Type of Embroidery Thread Should I Use?
When choosing embroidery thread, consider polyester for durability and vibrant color, or cotton for a softer finish. Always match the thread type to your fabric to guarantee the best results in your projects.
How Do I Clean My Embroidery Machine?
Isn’t it amazing how a clean machine can transform your sewing experience? To clean your embroidery machine, unplug it, remove the dust and lint, and wipe down surfaces with a soft cloth. Regular maintenance keeps it running smoothly.
Where Can I Find Embroidery Design Inspiration?
You can find embroidery design inspiration in online platforms like Pinterest and Instagram, or by exploring embroidery blogs and forums. Don’t forget to check local craft stores for books and magazines featuring unique designs!
How Often Should I Replace My Embroidery Needles?
You should replace your embroidery needles after every 8 to 10 hours of use or when you notice any damage. Regularly changing them helps maintain stitch quality and prevents frustration during your embroidery projects.