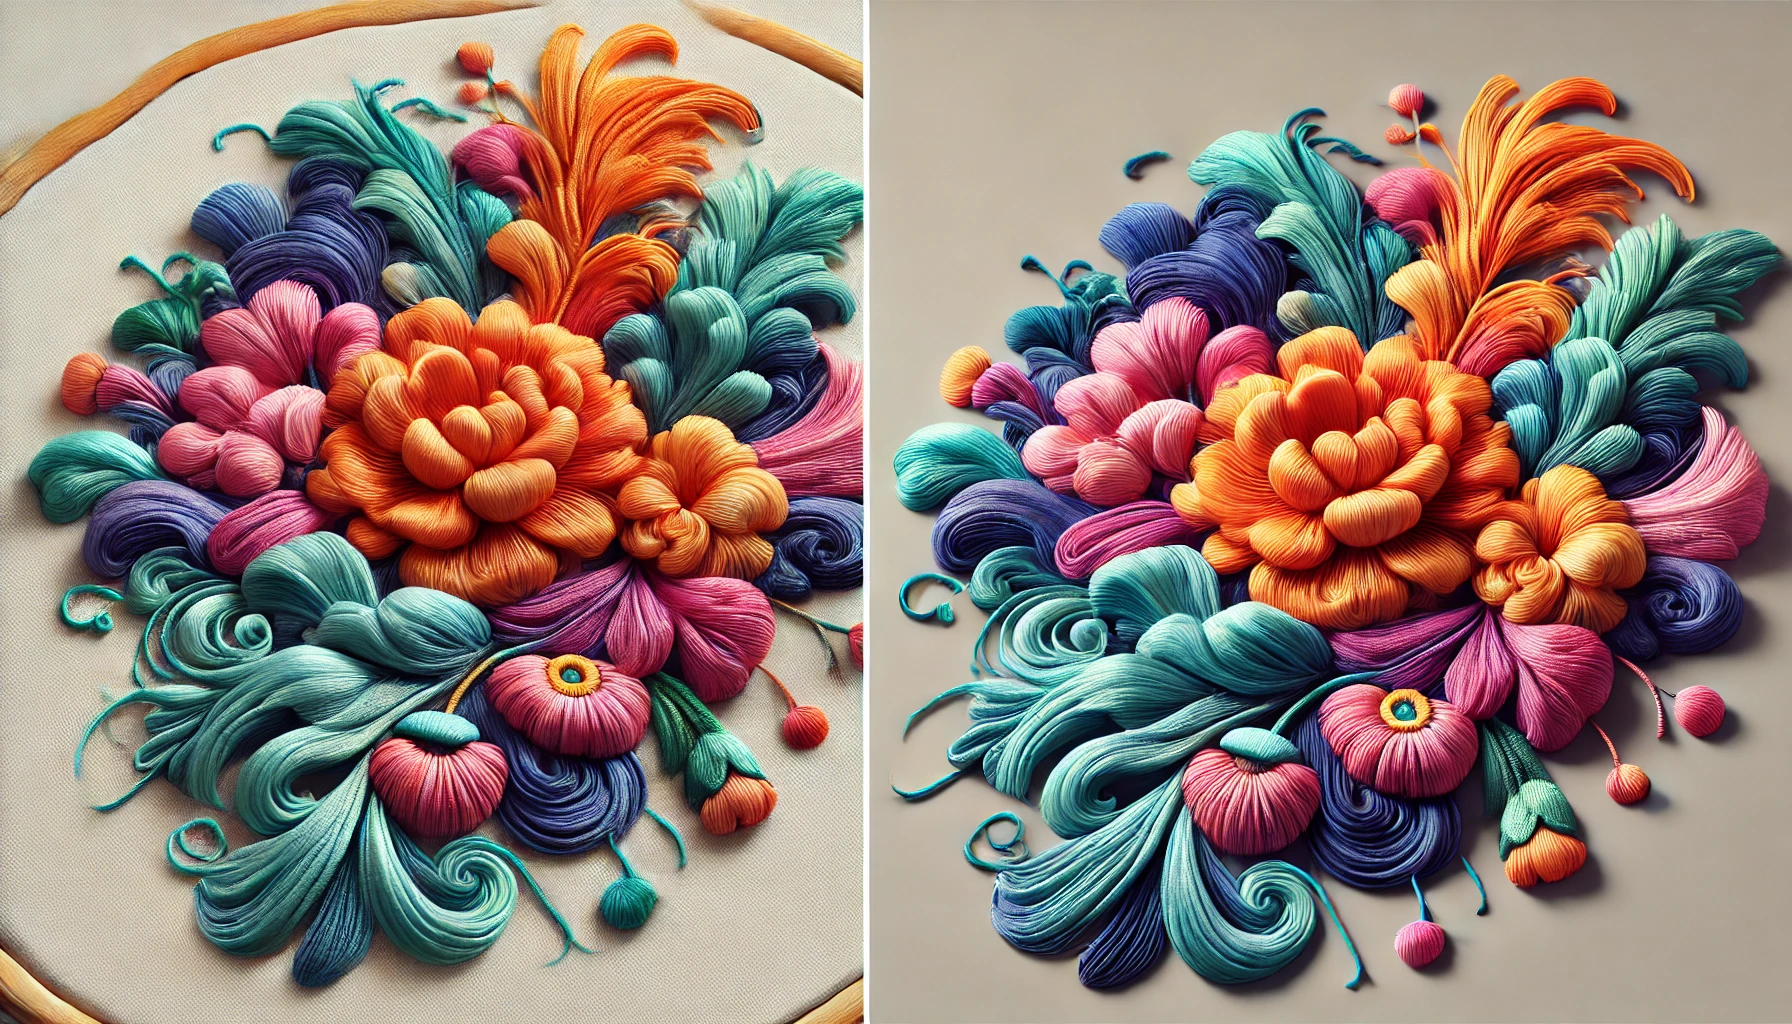
3D Puff Digitizing transforms your embroidery by adding a unique dimension that makes your designs stand out. This technique uses foam beneath the stitches, creating a raised effect that catches the eye. It’s perfect for items like caps and jackets, enhancing both style and visibility. You’ll need to take into account color contrast, fabric choice, and proper digitizing techniques to achieve the best results. Getting the density and tack-down settings right guarantees a polished finish without compromising height. If you’re ready to elevate your embroidery skills, there’s much more to explore about this exciting technique.
Key Takeaways
- 3D Puff Digitizing creates raised designs using foam beneath stitches, enhancing embroidery’s visual appeal and texture.
- Proper color contrast and size are crucial for maximizing the 3D effect and ensuring design legibility.
- The embroidering process requires careful tack down of foam after initial embroidery, with attention to machine settings and precision.
- Common challenges include adjusting density settings and preventing looping, which can be addressed through strategic techniques and iterative refinements.
- This technique is ideal for bold designs, layered applications, and personalized apparel, providing a competitive edge in promotional products.
Overview of 3D Puff Digitizing
When you explore 3D puff digitizing, you’ll discover a technique that creates eye-catching, raised designs by layering foam beneath stitches, elevating your embroidery projects. This method, which gained popularity in the early 90s, greatly enhances the visual impact of your embroidery designs. By employing foam, you can achieve bold designs that stand out on various apparel items like caps and jackets.
However, digitizing 3D foam embroidery requires specialized skills. Unlike traditional embroidery, it involves creating designs specifically tailored for foam, which includes adjusting stitch density, angles, and tension. You’ll need to incorporate tack down stitches to secure the foam properly and guarantee clean removal after stitching.
Additionally, the designs must feature perforated borders and appropriate needle penetration to accommodate the foam’s thickness.
When done correctly, 3D puff digitizing can dramatically transform the aesthetics of your projects, allowing you to create unique, textured pieces that capture attention. By mastering this technique, you’ll add a new dimension to your embroidery skills and expand the possibilities for your designs.
Design Considerations
When you’re designing for 3D puff embroidery, it’s crucial to reflect on how your design will translate into the final product.
Focusing on bold colors, appropriate size, and suitable shapes won’t only enhance the 3D effect but also guarantee legibility.
Additionally, think about fabric choice and color contrast to maximize the overall impact of your design.
Design Suitability for Puff
Considering the unique characteristics of puff embroidery, bold and simple designs with large solid color areas are vital for achieving a clear and impactful 3D effect. When selecting your design, think about how the foam used can enhance the overall visual appeal. Ideal designs often feature large columned objects rather than intricate details, allowing for effective foam application and maintaining the raised effect’s integrity.
Your fabric choice also plays a significant role; thicker materials typically provide better support for the foam, ensuring clarity and visibility in your final product. Additionally, text should be large and legible, with contrasting colors between the design and foam to maximize impact.
Here’s a quick reference table on design suitability for puff:
| Design Element | Importance | Tips |
|---|---|---|
| Bold and Simple | Enhances 3D clarity | Use large solid areas |
| Large Columned Objects | Supports foam application | Minimize intricate details |
| Fabric Thickness | Affects overall puff effect | Opt for thicker materials |
Color Contrast Importance
Bold designs not only enhance the 3D effect of puff embroidery but also benefit greatly from high color contrast, which boosts visibility and overall appearance.
When selecting foam color and thread color, aim for shades that stand out against each other. This contrast not only makes your embroidery designs pop but also considerably improves legibility, especially if you’re incorporating text.
High color contrast is essential for ensuring that your designs are easily readable from a distance. It also helps minimize the visibility of foam remnants after removal, resulting in a cleaner finish.
Choosing a color palette that complements the fabric while still offering striking contrasts can elevate your work’s visual impact.
Size and Shape Factors
Designing for 3D puff embroidery requires focusing on size and shape to create visually impactful and easily recognizable artwork. Bold and simple designs are key since they feature large solid color areas that enhance visibility and the dimensional effect.
When it comes to text, you’ll want to guarantee it’s sized appropriately for legibility. Larger fonts not only make the design easier to read but also amplify the 3D appearance, especially when contrasted against the foam.
Keep in mind the dimensions of your design must fit within the embroidery area; overwhelming visuals can detract from the overall impact. The choice of fabric is equally important, as thicker materials provide better support for the raised designs, allowing for a more pronounced effect.
Additionally, common foam thicknesses of 1.5mm, 2mm, and 3mm play a vital role in determining the final height of your 3D effect. Selecting the right thickness is essential for achieving the desired visual impact and guaranteeing your design stands out beautifully on garments or accessories.
Digitizing Techniques
When you’re working on 3D puff digitizing, understanding foam design considerations is key to achieving the right look.
You’ll need to master tack down techniques to secure the foam without compromising its height.
Let’s explore how these elements come together to create stunning embroidered designs.
Foam Design Considerations
In creating 3D foam embroidery, it is vital to take into account specific digitizing techniques that enhance the final appearance and functionality of the design. When you’re working with puffy foam embroidery, consider using perforated borders to allow for easy tear-away of excess foam. Needle penetrations should be strategically placed in all directions, creating a cookie-cutter effect for clean removal.
Here’s a simple overview of key foam design considerations:
| Technique | Details |
|---|---|
| Density Settings | Reduce to 50-40% of normal to maintain height. |
| Overlap Columns | Guarantees no gaps in the foam for a polished look. |
| Pull Compensation | Adjust for larger columns to enhance raised effect. |
Using tear-away stabilizers or cutaway mesh can also play a significant role in your design and use, making sure everything holds together during the process. Remember, for successful foam digitizing, focus on these embroidery techniques to achieve the desired results while adding dimension to your designs.
Tack Down Techniques
Tack down stitches are vital for securing the foam to the fabric and guaranteeing your design maintains its 3D effect. Typically, a single run stitch is used in the center of the object with a stitch length of 4 mm to minimize foam compressing. Proper digitization of these tack down stitches is significant; they should always be placed before the satin stitches to preserve the foam’s height.
When setting your density for tack down stitches, adjust it to guarantee proper coverage without compressing the foam, which could diminish the overall dimensional effect. You might also consider using capping stitches alongside tack down stitches to secure the edges of the foam, enhancing the design’s appearance. For ideal results, set the spacing of these capping stitches at 0.16 mm.
Before diving into full production, it’s a good idea to test your tack down techniques on sample fabric. This way, you can ensure that the foam adheres well, and that the design retains its intended height and texture. Mastering these techniques will help you achieve impressive results in your 3D puff digitizing projects.
Embroidering Process
The embroidering process for 3D puff designs requires precision and attention to detail, starting with regular embroidery elements before adding the foam. You’ll want to stop your embroidery machine after stitching the initial colors to guarantee everything is in place.
Here are three essential steps to keep in mind:
-
Carefully lay the foam in designated areas of the design, matching colors and placements.
-
Use tack-down stitches to secure the foam to the fabric before moving forward.
-
Adjust your machine settings to increase thread tension and guarantee a closer stitch spacing of 0.16 mm for effective foam cutting.
Once you’ve finished the embroidery, steam the panels before tearing the foam away. This step improves the quality of your finished design and prevents damage during removal.
After tearing it away, use blunt objects to adjust any misaligned foam. Don’t forget to address common issues like looping by modifying underlays and tensions accordingly.
With these steps, you’ll create stunning 3D puff designs that stand out in any embroidery project!
Stabilizers and Supplies
Choosing the right stabilizers and supplies is vital for achieving flawless 3D puff embroidery results. When you’re working with puffy foam machine embroidery, you’ll often wonder, ‘What stabilizer should I use?’
For hats and caps, tear-away stabilizers are recommended because they’re easy to remove and leave clean edges around your design. If you’re embroidering wearable items, opt for cutaway mesh stabilizers; they provide solid support while maintaining the garment’s integrity through multiple washes.
If you want to avoid any visibility through your fabric, consider no-show mesh stabilizers, which guarantee a clean appearance for your finished embroidery. For projects that require a smooth finish and easy removal, wet & gone stabilizer is vital, especially when using foam in place.
A 5 x 7 hoop is typically necessary for most 3D foam embroidery projects, so make certain your supplies can accommodate that size.
Common Challenges
Steering through the common challenges of 3D puff digitizing can make or break your embroidery project, so understanding these hurdles is vital. Here are a few key issues you might face:
-
Density settings: Getting the density right is fundamental; you’ll need to reduce it to 50-40% of normal to avoid compressing the 3D puffy foam too much.
-
Foam removal: Without proper perforated borders, removing the foam can be a hassle, leading to potential damage to your embroidery designs.
-
Looping: If you notice looping on your finished piece, it’s often due to improper underlay settings or tension.
To navigate these challenges, focus on strategic needle penetrations in all directions to facilitate clean foam removal.
Expect to make several adjustments throughout the digitizing process—achieving that perfect dimensional effect usually requires iterative refinements.
Creative Applications
Exploring creative applications of 3D puff embroidery can open up exciting opportunities for enhancing your designs and making a bold statement. This technique, using puff foam, is perfect for bold and simple embroidery designs, especially those with large solid color areas. Imagine how striking your sports logos could look with 3D puff foam, making them pop on caps and jackets!
By combining puff foam with flat embroidery, you can create layered designs that add depth to your products like bags and towels. The contrasting colors between the foam and thread not only elevate visibility but also make your custom designs stand out, which is essential for branding.
When working with different stabilizers and the color of the foam, you’ll find that practice makes perfect. You can experiment with various combinations to create designs that truly reflect your style or brand identity.
Whether you’re aiming for personalized apparel or promotional products, 3D puff embroidery offers a competitive edge in today’s market. Immerse yourself, explore your creativity, and see how this technique can transform your embroidery digitizing projects!
Conclusion
Incorporating 3D puff digitizing into your embroidery projects opens up a universe of creativity and dimension.
Imagine the impact of a raised logo or design on your garments—doesn’t that elevate your work to a whole new level?
With the right techniques and materials, you can overcome challenges and create stunning, eye-catching pieces.
So, why not plunge into the exciting domain of 3D puff embroidery and see how it can transform your craft?