When you’re tackling 3D puff embroidery, you might run into a few common problems, like uneven puff or thread breakage. It’s essential to know how to properly hoop your fabric, adjust machine settings, and select the right needle and thread to keep everything running smoothly. In many cases, issues can be avoided by starting with properly prepared files from professional 3D puff embroidery digitizing services that account for foam density, stitch angles, and column spacing. Regular machine maintenance can also prevent frustrating jams. However, even with the best practices, some issues can still arise. What if your design isn’t coming out as you expected? Let’s explore effective solutions that can transform your results.
Need a Professional Embroidery File?
If you want clean, production-ready embroidery files, Embpunch provides professional embroidery digitizing services for logos, caps, patches, jackets, polos, and more.
Uneven Puff Issues
Uneven puff issues can really impact the overall look of your embroidery, so it’s crucial to address them promptly.
When you notice inconsistencies in the puff height, start by checking your hooping technique. Confirming that your fabric is taut and correctly aligned helps maintain uniformity.In many cases, starting with properly prepared files from reliable online embroidery digitizing providers can significantly reduce puff height inconsistencies before production even begins.
Another common culprit is the needle; a dull or incorrect needle type can lead to uneven stitching. Regularly cleaning your machine and replacing worn parts can also prevent these issues from arising.
Important:
Inspect your embroidery machine settings; adjusting the pressure and speed can make a significant difference. If you’re using foam, consider its thickness; using a consistent thickness across your design guarantees even puff.
Thread Breakage Solutions
To prevent thread breakage during your 3D puff embroidery, start by ensuring you’re using the right thread type and tension settings. Use high-quality polyester or rayon threads, as they’re less prone to breakage. Adjust your tension; too tight can cause snapping, while too loose may lead to loops.
Here’s a quick reference table to help you troubleshoot:
| Problem | Solution |
|---|---|
| Thread is breaking | Check thread quality & tension |
| Loops in design | Adjust tension settings |
| Inconsistent stitching | Re-thread needle & check path |
Proper Adhesion Techniques
To achieve great results with 3D puff embroidery, you need to focus on proper adhesion techniques.
Start by choosing the right stabilizer, adjusting your heat settings, and selecting the appropriate material.
These steps will help guarantee that your design holds up and looks professional.
Choosing the Right Stabilizer
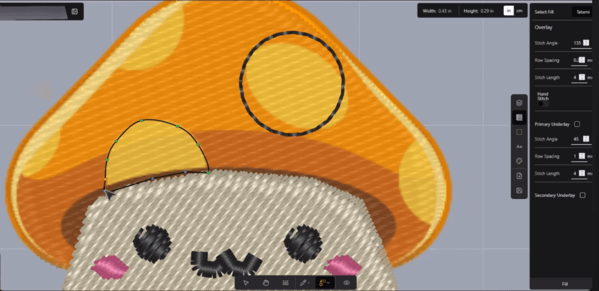
Choosing the right stabilizer can make or break your 3D puff embroidery project, so it’s crucial to get it right from the start. A good stabilizer provides the support your fabric needs while allowing the puffed design to shine.
For 3D puff embroidery, you’ll want to use a tear-away or cut-away stabilizer, as these offer the necessary firmness without compromising the fabric’s flexibility.
Make certain to properly adhere the stabilizer to the fabric with a temporary adhesive spray or heat-activated adhesive. This guarantees it stays in place during stitching.
Heat Settings Adjustments
Adjusting heat settings is vital for guaranteeing proper adhesion of the 3D puff embroidery elements to your chosen fabric. Start by setting your heat press to the recommended temperature, usually around 320°F to 350°F.
It’s important to avoid excessive heat, as it can scorch the fabric or damage the puff material. Pre-pressing the fabric for a few seconds helps remove moisture and wrinkles, creating a smooth surface for better adhesion.
When applying the puff, make sure to use even pressure across the design; this guarantees the entire area adheres well. After pressing, allow the embroidery to cool before handling, as this gives the adhesive time to set properly.
Following these techniques will enhance the durability of your 3D puff embroidery.
Proper Material Selection
Selecting the right materials is essential for achieving strong adhesion in 3D puff embroidery.
Start by choosing a high-quality backing material, like cutaway or tear-away, which provides stability and support.
Use a dense, high-loft foam for the puff effect; it’ll give your design depth and texture.
When picking threads, opt for polyester or rayon since they’re durable and resistant to fading.
Confirm your fabric is compatible with the adhesive you’re using; polyester and cotton are good choices.
Needle and Thread Selection
When it comes to 3D puff embroidery, selecting the right needle and thread is essential for achieving the best results.
You’ll want to choose needles that can handle the thickness of the puff foam while also considering the type of thread that complements your design.
The right combination not only enhances the look but also reduces issues like thread breaks and uneven stitching.
Choosing Appropriate Needles
Choosing the right needle and thread is vital for achieving successful 3D puff embroidery.
Start with a needle that has a larger eye, like a 75/11 or 80/12, to accommodate thicker threads. Using a ballpoint needle helps prevent damage to the fabric and allows for smooth stitching through the puffed layers.
Make certain your needle is sharp; a dull needle can cause skipped stitches and uneven results. You’ll also want to change your needle regularly, especially when you notice wear.
It’s essential to confirm your needle matches your machine’s specifications for peak performance.
When you invest time in selecting the appropriate needles, you’ll greatly enhance the quality of your 3D puff embroidery projects.
Thread Type Considerations
The type of thread you use plays a significant role in the outcome of your 3D puff embroidery, influencing everything from texture to durability.
When selecting thread, opt for polyester or rayon for their strength and sheen. Polyester is more resistant to fading and fraying, making it ideal for outdoor applications. Rayon offers a luxurious finish but may not hold up as well under stress.
Additionally, consider the thread weight; a heavier thread can enhance the puff effect but may require adjustments to your machine settings.
Always match your needle size to the thread type—larger needles work best with thicker threads.
Stabilizer Choices
Selecting the right stabilizer is essential for achieving crisp, defined edges in your 3D puff embroidery.
You’ll want to contemplate using a tear-away or cut-away stabilizer, depending on your fabric choice. Tear-away stabilizers are great for lightweight fabrics, allowing you to easily remove excess material after stitching. However, if you’re working with heavier fabrics or need extra support, opt for a cut-away stabilizer, which provides more stability during the embroidery process.
Additionally, using a sticky stabilizer can help hold down the puff material while stitching, ensuring everything stays in place.
Make sure to test different stabilizers on a sample before committing to your final project; this way, you can see which works best for your specific design and fabric combination.
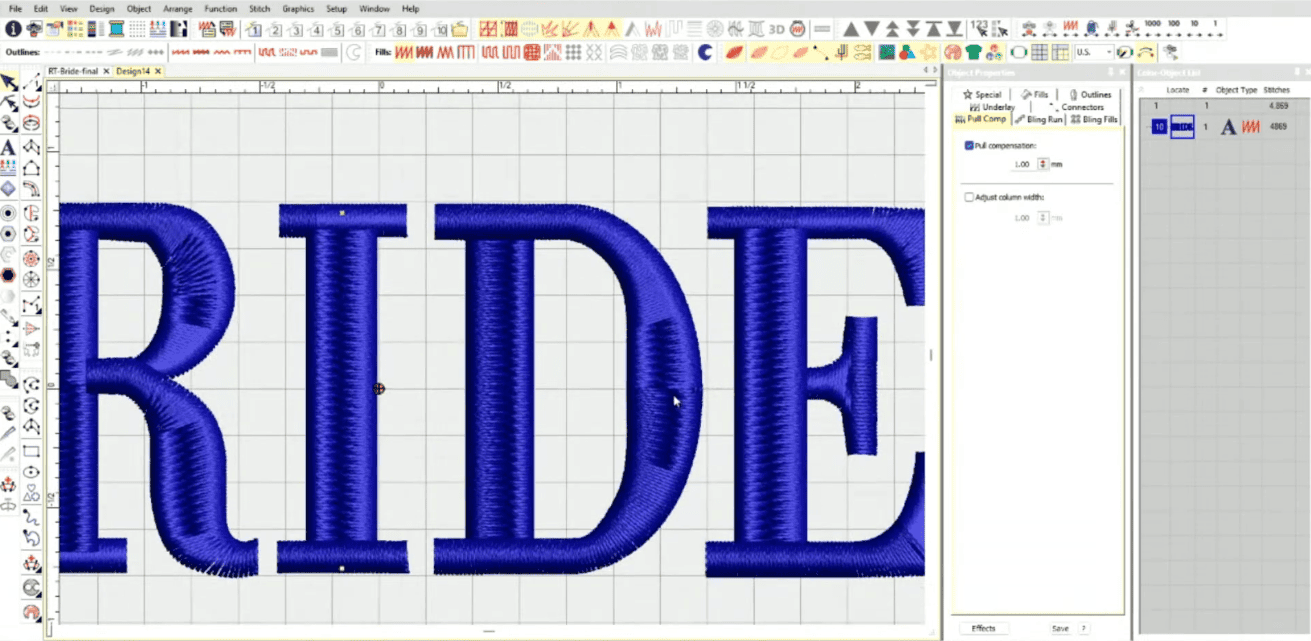
Machine Settings Adjustments
How do you adjust your machine settings for ideal 3D puff embroidery results?
Start by confirming your needle size matches the density of the foam. Use a larger needle to prevent damage and allow for smoother stitching.
Next, set your thread tension correctly. Too tight can cause puckering, while too loose may result in thread breakage.
Adjust your stitch length; longer stitches work better for 3D puff as they reduce perforation in the foam.
Finally, experiment with your machine’s speed. Slower speeds can give you more control and help maintain quality.
Always test your settings on a scrap piece of fabric before moving to your final project. This way, you can prevent costly mistakes and confirm a polished finish.
Design Modifications
When creating designs for 3D puff embroidery, consider simplifying intricate details to guarantee the foam maintains its shape and the stitches are effective.
Complicated elements can lead to distortion, making the design appear messy. Opt for bold lines and clear shapes that allow the foam to expand properly.
Also, think about the overall size of your design. Larger designs often benefit from fewer small components, as they can be more visually appealing and easier to stitch.
You might also want to avoid tight corners or excessive overlapping. Instead, create smooth changes between elements, which can help maintain the integrity of the puff.
Preventive Maintenance Tips
Maintaining your 3D puff embroidery machine regularly can prevent many common issues and guarantee excellent results. Start by cleaning the machine after each use to remove debris that can interfere with stitching. Check the tension settings regularly and adjust them as needed to avoid puckering. Finally, lubricate moving parts according to the manufacturer’s recommendations to assure smooth operation.
| Maintenance Task | Frequency | Notes |
|---|---|---|
| Clean the machine | After each use | Prevent thread buildup |
| Check tension settings | Weekly | Adjust for best results |
| Lubricate moving parts | Monthly | Follow manufacturer’s guide |
Conclusion
By addressing these common 3D puff embroidery challenges, you can elevate your designs to new heights, much like an artist perfecting their craft.
Remember, the right combination of techniques and tools can turn your embroidery from ordinary to extraordinary.
Don’t shy away from experimenting with needle types, thread, and stabilizers.
With a little patience and practice, you’ll be stitching masterpieces that would make even the most seasoned embroiderer envious.
Happy stitching!
Frequently Asked Questions
What Types of Garments Are Best for 3D Puff Embroidery?
When considering 3D puff embroidery, you’ll find that thicker fabrics like cotton twill, fleece, and denim work best. These materials hold the design well, ensuring your embroidery pops and maintains its shape over time.
Can I Use 3D Puff Embroidery on Thick Fabrics?
Can you imagine how stunning 3D puff embroidery looks on thick fabrics? Yes, you can use it on thicker materials, but make certain your machine’s settings accommodate the added texture for the best results.
How Do I Clean 3D Puff Embroidered Items?
To clean 3D puff embroidered items, gently hand wash them in cold water with mild detergent. Avoid scrubbing the puffed areas, and air dry them flat to maintain their shape and prevent damage.
Is 3D Puff Embroidery Durable for Everyday Wear?
Yes, 3D puff embroidery’s durable for everyday wear. It withstands regular use and washing, maintaining its shape and appearance. Just make certain you follow care instructions to keep it looking fresh and vibrant over time.
Can I Combine 3D Puff With Other Embroidery Techniques?
You can creatively combine 3D puff with other embroidery techniques, like flat stitching or appliqué. This blend adds unique textures and striking visuals, enhancing your designs while showcasing your artistic flair and versatility.