VP3 is the stitch file format Husqvarna Viking machines read. A PNG is a grid of pixels. The two have nothing to do with each other at the file level: a VP3 contains a sequence of needle movements, thread trims, and color changes, and none of that information exists anywhere in a PNG. That's why you won't find a converter that does this in one step, and why the ones that claim to are cutting corners you'll pay for later.
So the work happens in two stages to convert PNG to VP3. You clean up the PNG and turn it into outlines, then you use digitizing software to decide how those outlines get sewn: what stitch type each region gets, which direction the fill runs, how dense it is, what order the colors sew out. Then you export as VP3. The methods below differ in how much of that second stage you do by hand.
Start with the image itself
Before touching any software, look hard at your PNG. The final embroidery can only be as good as the shape information it starts from, and a lot of common problems trace straight back to the source file.
A white or colored background is the most common issue. If your design sits on a solid rectangle, that rectangle will eventually become a stitch block the size of your hoop. Remove the background first; there are plenty of free tools for this, or you can delete the rectangle after tracing in Inkscape (more on that below).
Check the edges while you're at it. Anti-aliased edges leave a faint halo of semi-transparent pixels that auto-digitizers love to turn into a thin, ugly outline stitch around every shape. A few minutes cleaning the source image saves an hour of fixing stitch blocks later.
Size matters less than you'd think, since you'll rescale everything in the digitizing software anyway, but resolution affects how cleanly the software can find your edges. A 1000-pixel logo gives the tracing algorithm real curves to work with. A 150-pixel thumbnail gives it noise.
Need a Professional Embroidery File?
If you want clean, production-ready embroidery files, Embpunch provides professional embroidery digitizing services for logos, caps, patches, jackets, polos, and more.
⭐⭐⭐⭐⭐ Trusted by embroidery professionals worldwide.
Method 1: Auto-digitize in embroidery software
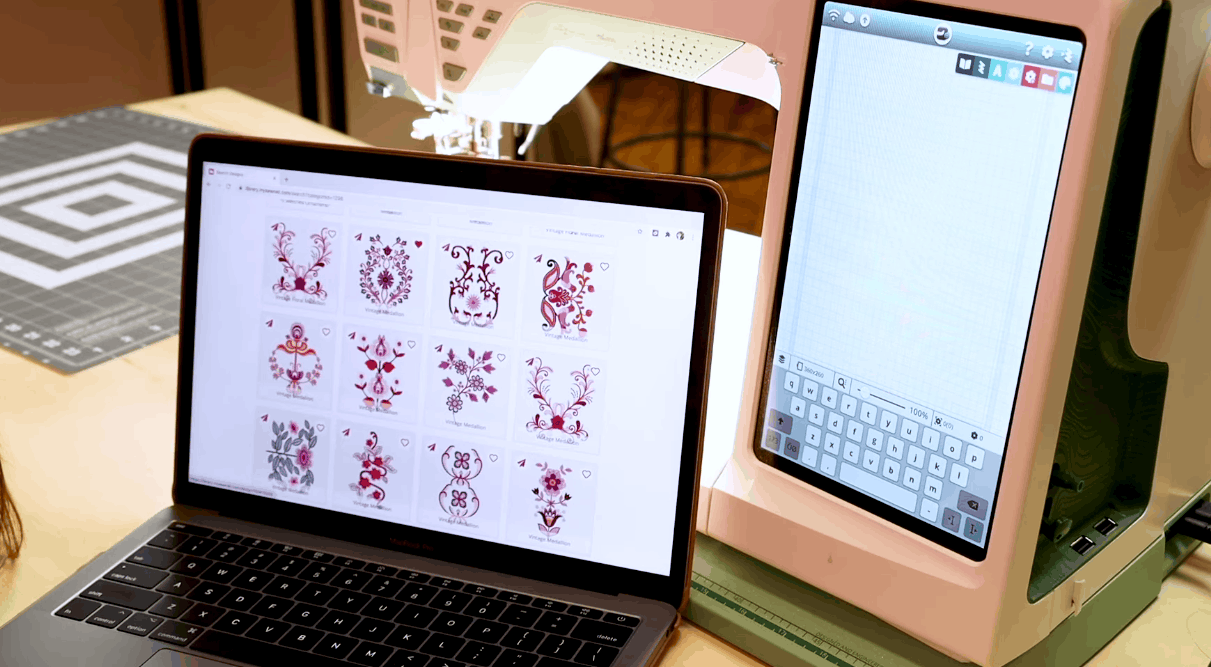
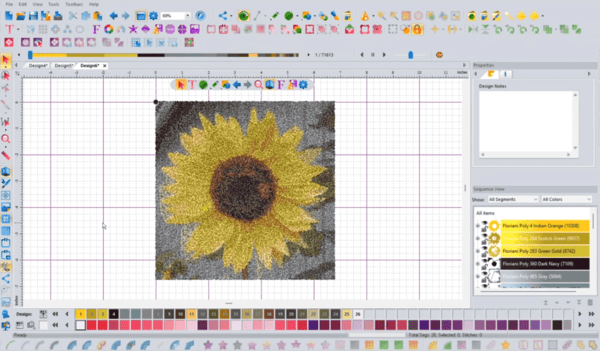
Husqvarna Viking's own mySewnet suite opens PNGs directly and has an auto-digitize function: you load the image, tell it whether you're working from line art or filled shapes, set the size, and it generates stitch blocks.
The older 6D and 5D Premier packages have similar wizards under their Create or Auto Digitize menus. Outside the Viking ecosystem, SewArt is the budget option and handles simple shapes reasonably; Embrilliance StitchArtist is more capable and sits closer to manual work.
Auto-digitizing suits bold shapes and thick strokes. It struggles with thin lines, gradients, photographs, and any detail finer than roughly 1 mm, which is about the limit of what thread and a needle can physically render. If your design lives in that territory, skip ahead to manual digitizing.
Whatever the software produces, inspect it before exporting. Auto-digitize fills every closed region it detects, and it detects more regions than you'd expect: the hole in an "O", the gap between an arm and a body, a cartoon character's eye. Zoom in and look at each block.
Small regions filled with dense satin will sew as solid lumps of thread; delete those blocks or convert them to a running stitch. Then use File > Save As or Export, choose VP3 from the format list, and if the software offers thread brand and color assignment, fill those in.
VP3 carries color information, so your machine will show proper color stops at the proper places instead of defaults.
Method 2: Vector tracing first
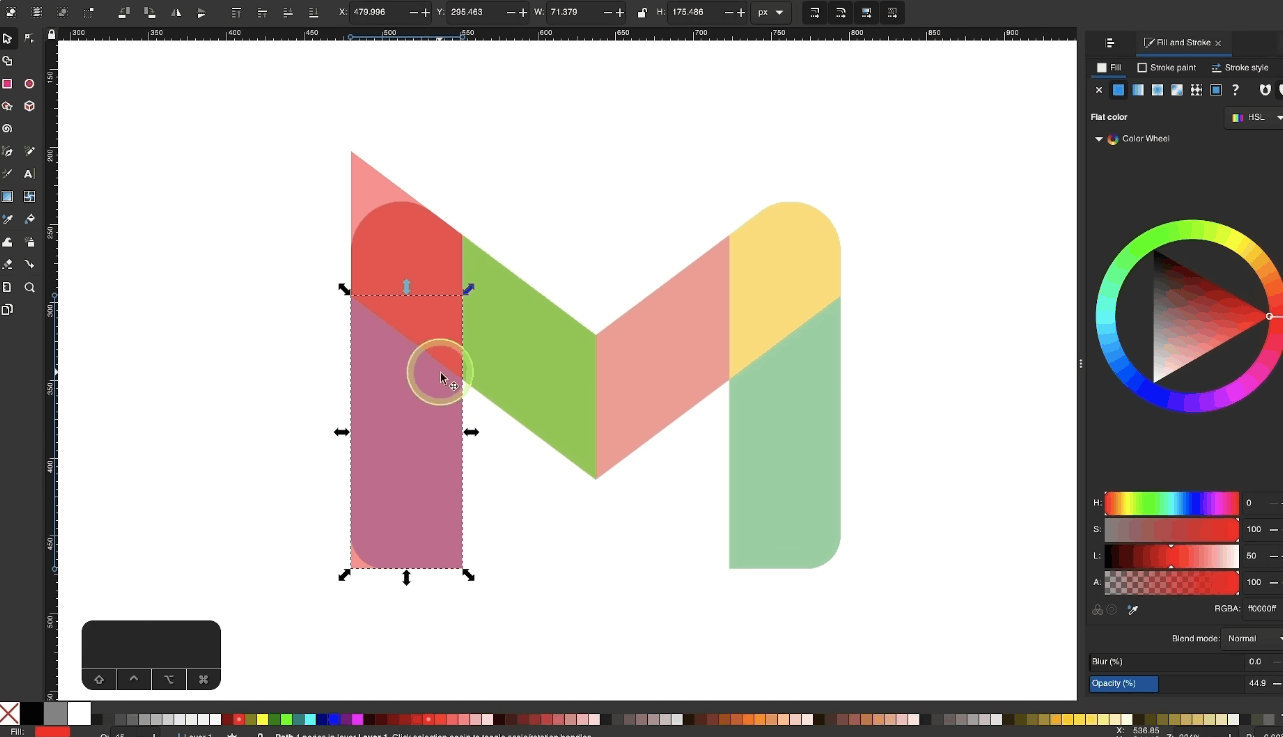
For logos with clean edges, tracing the PNG into vectors before online digitizing produces noticeably smoother results. Pixel edges are stair-stepped, and those steps survive into the stitch data as jitter along satin borders and uneven fill angles. Vector curves don't have that problem.
Inkscape is free and handles this well.
Open the PNG, select it, and run Path > Trace Bitmap. Single-scan with brightness cutoff works for a two-color logo; for multi-color artwork, use the multicolor scan mode and set the color count to match your design.
After tracing, check for a leftover white rectangle behind the artwork and delete it. This is the same background problem from the cleaning section, just wearing a different costume, and it's much easier to catch in Inkscape than in stitch preview.
Save as SVG, EPS, or EMF, all of which mySewnet and Embroidery Studio import. From there it's the same as Method 1: assign stitch properties, size it, export VP3.
If you'll digitize the same logo more than once, keep the traced vector file. Future edits start from clean curves instead of a re-trace.
Method 3: Manual digitizing
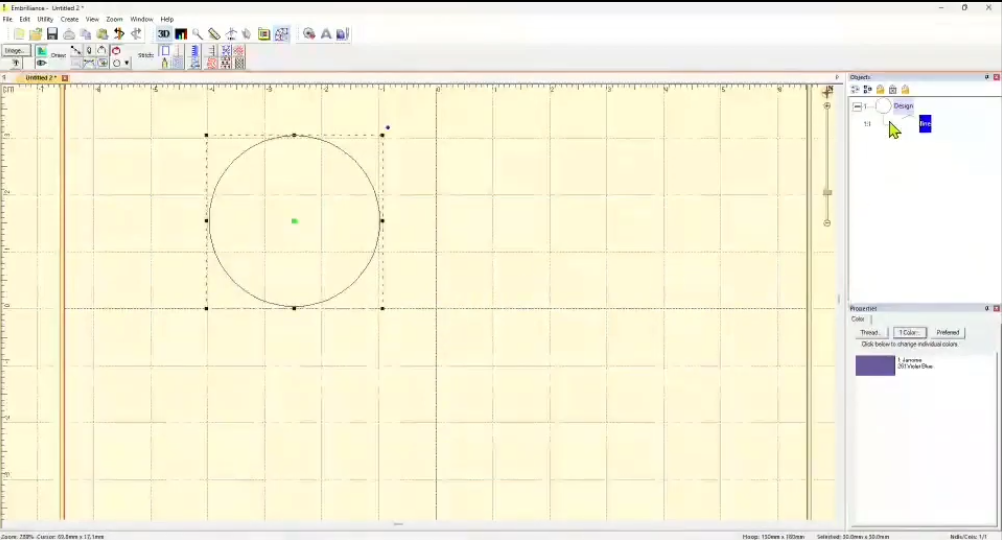
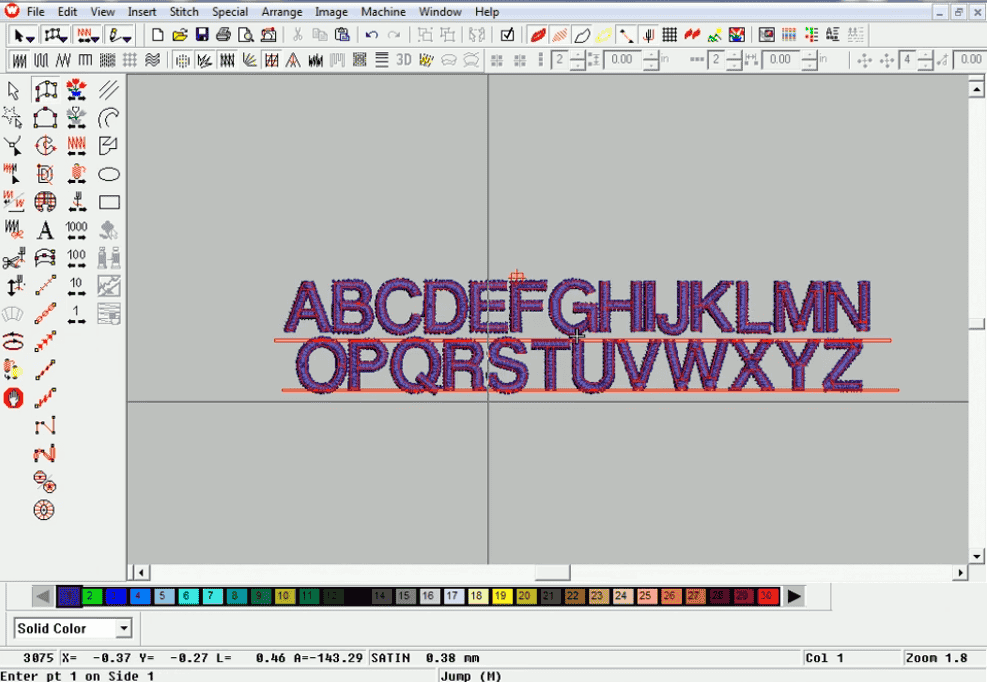
When auto-digitize guesses wrong, and it will on anything detailed, manual digitizing is the fix. You draw each region's outline yourself in StitchArtist or mySewnet's digitizing tools, then assign stitch properties to each shape. The software generates the fill or satin stitches inside your boundaries.
The point-editing tools work like any vector pen tool, which means the usual frustrations: points landing slightly off, curves bowing when you wanted them straight. Hold the modifier key to break handle direction at sharp corners, and zoom in to at least 400% when placing points. Precision at fit-to-window zoom is an illusion.
Manual digitizing also puts the physical decisions in your hands, the decisions that usually only experienced online embroidery digitizers know how to make, and these are the ones that determine whether a design sews well. Fill direction matters: fills that run parallel to the fabric's stretch direction pucker. Underlay stitches stabilize the fabric before the top stitching goes down, and skipping them shows up as distortion around the edges of your design.
A satin border wider than about 8 mm catches on the needle plate and needs to become a fill instead. These numbers come from stitch-outs, not from documentation, so expect the loop: sew a test on fabric similar to the final garment, find two or three problems, adjust, re-export. Keep the undo history deep while you're at it.
Method 4: Ink/Stitch, and the online converter question
Searching "PNG to VP3 converter" turns up websites offering one-click conversion. Some do produce a VP3 file. What they're actually doing is running a crude auto-digitize with no settings exposed, no color control, and no way to inspect the stitch data before you sew. For a simple heart on a scrap of felt, the output might be fine. For anything you care about, you'd be sewing blind, and I'd keep those files well away from a paid-for garment.
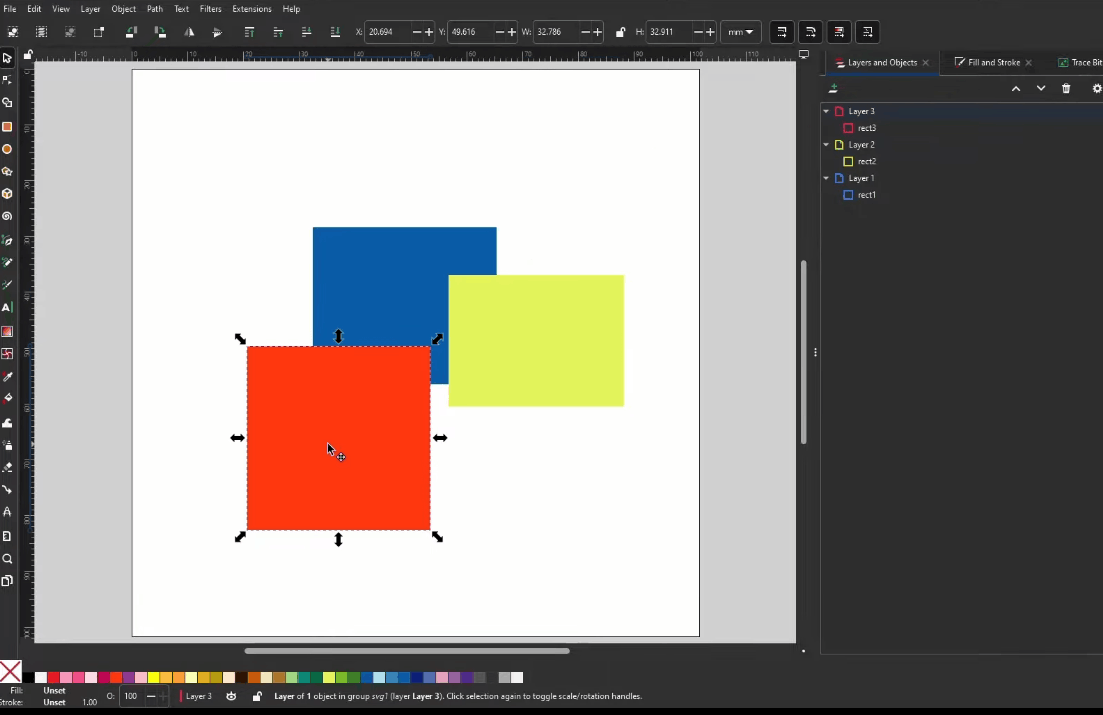
The better free route is Ink/Stitch, an open-source embroidery plugin for Inkscape. You draw or trace vector shapes, assign fill and satin properties through the extension menu, check the result in the built-in simulator, and export directly to VP3.
The documentation assumes some patience and the learning curve is real, but it's the only fully free option that gives you genuine control. Between Ink/Stitch and a mySewnet trial, most needs are covered without spending anything.
Which method to pick
-
Simple one-color logo, one-off project: auto-digitize in SewArt or a mySewnet trial, fix the generated blocks, export.
-
Multi-color logo you'll reuse: trace in Inkscape first, digitize from the vector, and keep the source project file next to the VP3.
-
Detailed or artistic work, or anything for sale: manual digitizing(take help from our trusted embroidery digitizing services), or Ink/Stitch if the budget is zero. Automatic output on complex art is recognizable at ten paces, and customers notice.
-
One-click web converters: avoid them for anything that matters.
Two habits worth keeping
Save the digitizing project file, not just the exported VP3. A VP3 is an endpoint; the project file is where revisions happen, and you will want revisions.
And sew a test before the real thing, on fabric similar to the final garment, with the appropriate backing (cut-away for knits and stretchy fabrics, tear-away for stable wovens). Every preview lies a little. The sewn sample settles the argument.