Quick Answer: Embroidery font digitizing converts lettering into stitch files that embroidery machines can read. An online embroidery digitizer imports the font into specialized embroidery software, then assigns stitch types: satin stitches for narrow letters, fill (tatami) stitches for larger ones. Key steps include setting the stitch direction, density, and length, adding underlay stitches for stability, and defining the sequence in which letters and sections sew. Pathing is optimized to minimize trims and jumps. The design is tested on fabric, adjusted for pull compensation (fabric shifting), then exported in a machine format like DST or PES.
Ever stitched out a name in a font you loved on screen, and the machine made it look like a tangled mess? That gap between the screen and the fabric is what font digitizing is all about.
This article explains what happens in between. It's based on a research paper by a team in Greece and the UK who built a system that turns computer fonts into embroidery-ready outlines. I've translated the math into plain words, so it's useful even if you just embroider for fun at home.
What Is Embroidery Digitizing?
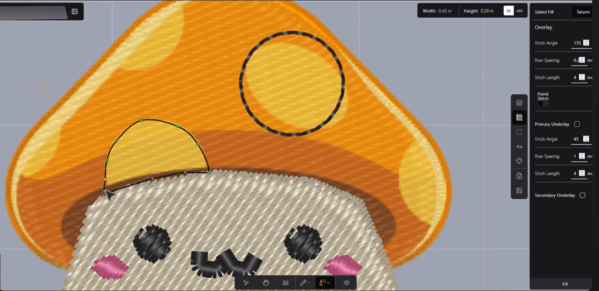
A machine can't read a picture. It needs instructions, stitch by stitch, in a certain order and direction. You also need to tell the machine the direction and stitch types.
Digitizing is the step that creates those instructions.
Text is the tricky part. A letter looks simple, but isn't. The machine embroidery software has to take the smooth outline of a letter and turn it into a path the needle can actually follow. It also has to decide which part gets sewn first, and which part comes next. Do it wrong, and a letter that looked fine on screen becomes unreadable in thread.
This matters even more when we look at the Chinese and Japanese characters. Those writing systems have rules about stroke order. A character sewn in the wrong order or direction can look wrong to someone who reads that language. It's not just decoration. It's mathematics in writing.
Need a Professional Embroidery File?
If you want clean, production-ready embroidery files, Embpunch provides professional embroidery digitizing services for logos, caps, patches, jackets, polos, and more.
⭐⭐⭐⭐⭐ Trusted by embroidery professionals worldwide.
A Quick Bit of History
Hand embroidery is ancient and machine embroidery is surprisingly young.
The first real embroidery machine came in 1828. A man named Josue Heilmann built it. Up to four people could work on it at once. It changed everything.
Today's machines barely resemble it. A modern embroidery machine can run up to 56 heads. Each head carries one thread color and some machines sew up to 1,000 stitches per minute. Touchscreens, USB ports, built-in memory.
The embroidery software changed just as much. Online embroidery digitizers have now stopped drawing stitches by hand and started describing designs with math. Computers did the rest. That one shift created the whole modern embroidery industry we know today.
Why File Formats Matter
Here's something that trips up a lot of beginners.
There are two kinds of embroidery files.
Source files: Source files are what your design software saves. They keep the design's actual shape: the curves, the regions, the settings. You can open them again, edit them, resize them.
Machine files: Machine files are what the embroidery machine reads. They're made for one brand of machine. They hold stitch data, not shape data. They sew fast. But you can't easily resize or edit them. The original design is gone. Only the stitches remain.
This is the whole reason font digitizing exists. If you keep the letter as a clean mathematical outline, you can export it to any format, at any size, and stay in control. Start from the raw machine file, and you've lost that freedom.
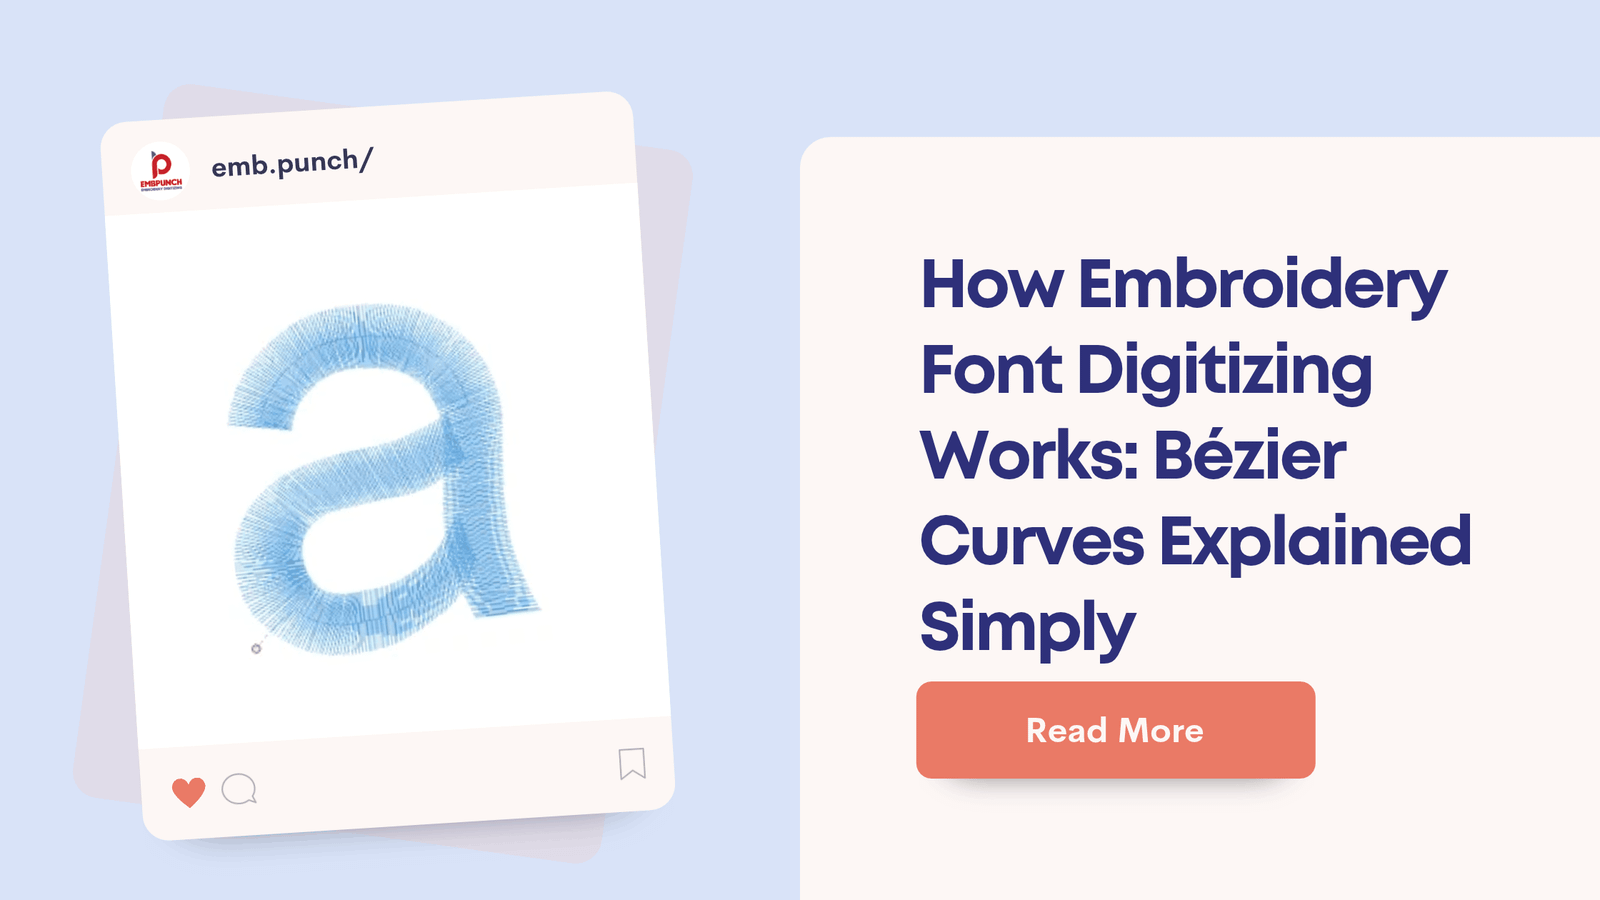
The Secret Behind Every Embroidery Font: Bézier Curves
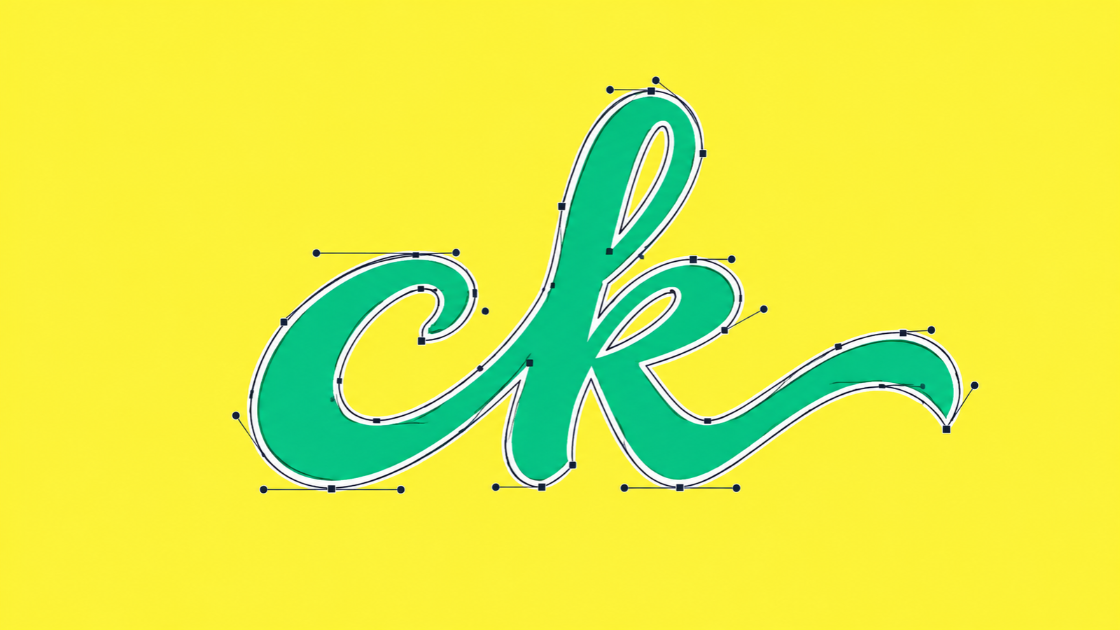
Every font on your computer is built from the same thing. Curves.
Not just any curves. A special kind called Bézier curves. If you've ever used the pen tool in Illustrator or Inkscape, you've already dragged Bézier control points around.
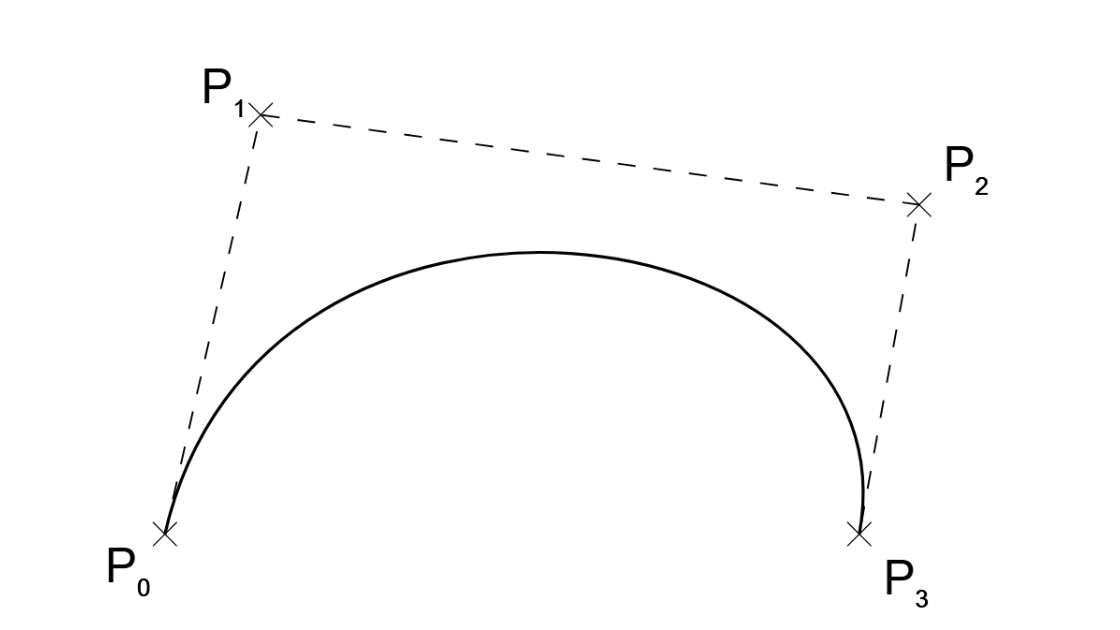
A cubic Bézier curve has four points. It starts at one, ends at another. Two points in the middle pull the curve's shape. Move a middle point, and the curve bends. You don't draw the curve. You steer it.
The math behind it uses something called Bernstein polynomials. I'll spare you the formula. What matters is what these curves are good at:
-
They hit their endpoints exactly. The curve always starts and ends where you say.
-
They stay inside the box. A Bézier curve can never wander outside the area its control points define. It behaves.
-
They don't wiggle. The curve can't twist and turn more than its control points do. No random loops, no surprises.
-
They scale perfectly. It's a formula, not a picture. Sew the same letter at 5 mm or 50 mm. The shape stays crisp.
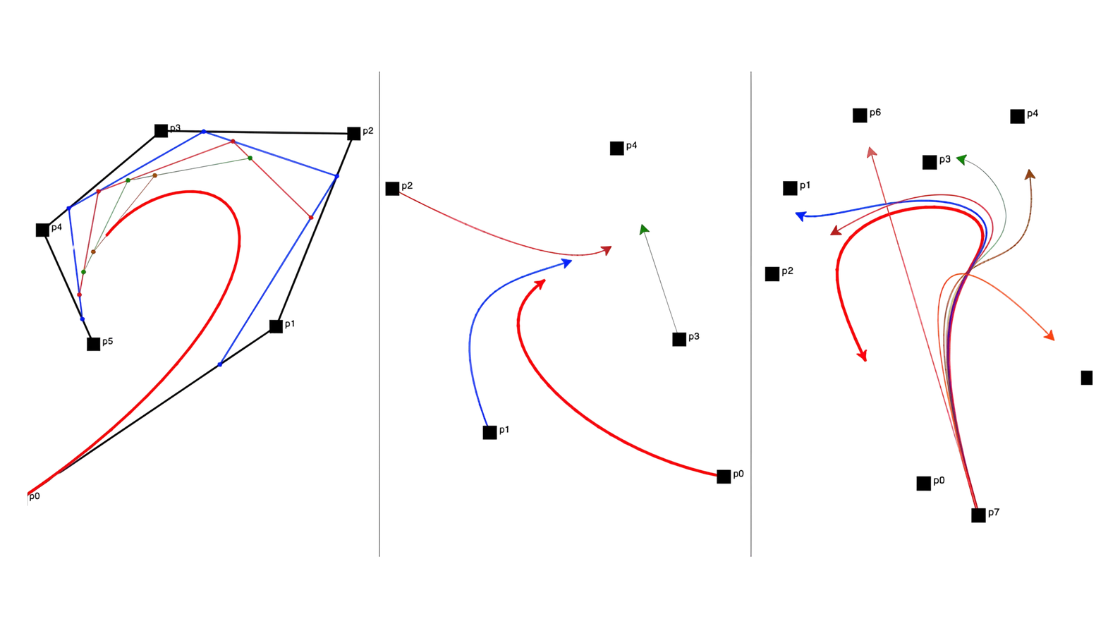
One weakness of these is that they cram too many control points into a single curve, and it gets unstable sometimes. So embroidery software doesn't do that. It chains many small cubic curves together instead. The points where they connect are called knots. Each control point then affects only its own little piece of the letter. That's how every vector font is built.
Smooth or Sharp? Continuity Decides
When two curve pieces meet at a knot, the join can be smooth or sharp. There's a scale for this.
-
Join level 0: the curves just touch. There's a visible corner. Think of the pointed tips of the letter "M".
-
Join level 1: the direction flows through the join. Smooth, no corner.
-
Join level 2: even the curvature flows. The smoothest join a cubic curve can make.
A letter needs both. Round parts of an "S" need smooth joins. The corners of an "L" need to be crisp. It’s either the embroidery software or the embroidery digitizer decides at every knot which one it should be. That decision is a big part of why some stitched lettering looks clean and some looks off.
From Curves to Stitches: The Branch
This is the part most explanations skip. It's also the part that makes embroidery different from printing.
Software like the EOS system doesn't sew raw curves. It groups them into something called a branch. A branch is two Bézier curves connected side by side. Straight lines join their ends. These are called reference lines.
Why bother? A branch encloses one area that gets sewn one way. One stitch style. One direction. The stitches run straight across from one reference line to the other, like rungs on a ladder.
The branch is where shape becomes a sewing plan.
Every knot in a branch carries meaning. Some knots are corners; the line is allowed to turn sharply there. Some are smooth. And each one is either automatic (the software computed it) or manual (a digitizer dragged a point). So an embroidery digitizer isn't just drawing a shape. They're telling the machine, stitch area by stitch area, exactly how each join should behave.
How a Font Becomes Stitch-Ready: Three Steps
The research system turns any TrueType font on a Windows PC into embroidery outlines in three steps.
Step 1: Break lines. You draw straight lines across the character to cut it into simple regions. Simple shapes are easy to describe with curves. Complex shapes are not. Cut a complicated character into easy pieces, and every piece can be captured perfectly. For Chinese or Japanese characters with dozens of strokes, this step is what saves the design.
Step 2: Stroke order lines. Each region gets an arrow. The arrow tells the machine which direction to sew that region. For East-Asian characters, the arrow must follow the writing rules of the language. Sew a stroke backward, and the character can look wrong to someone who reads it.
Step 3: Outlines. The software calculates the Bézier curves for each region. Then you refine them. Move control points. Add or remove knots. And set the order of the regions with index numbers. The thread is continuous; the machine sews region after region without stopping, so the order has to make physical sense. Wrong order can change how the finished embroidery looks.
What comes out is a clean, editable outline of the character. You can export it to whatever your machine needs.
Where This System Falls Short
I like this research. The math is exactly what commercial embroidery software uses. Treating stroke order as something you can set and edit is a smart idea, and it matters for East-Asian text. Keeping the result as a scalable outline, not baked-in stitches, gives you freedom later.
It isn't perfect.
It stops at outlines. Stitch type, density, stitch count; none of that is in the output. Another tool has to add it before the machine can sew. The authors admit this and list it as future work.
There's also no real testing in the paper. No numbers comparing the generated outline to the original letter. No legibility checks with people who actually read the language.
And the break lines are drawn by hand, one at a time. Fine for one character. Not fine for a full Chinese font set of thousands of characters.
So take the ideas seriously. Just know a working production pipeline needs more built on top.
Frequently Asked Questions
What is embroidery font digitizing?
Turning font outlines into stitch data. The letter gets divided into regions, given a sewing direction and order, and described with curves the machine can follow.
Why do embroidery programs use Bézier curves?
They're precise, they behave predictably, and they're the same format fonts already use inside your computer. No conversion loss.
What's the difference between source files and machine files?
Source files keep the editable design. Machine files hold finished stitch data for one machine brand, fast to sew, hard to change.
Why does stroke order matter for Chinese and Japanese characters?
Those languages have rules for how strokes are written. Sew them in the wrong order or direction, and the character can look wrong, even when its outline is perfect.
Can any font be embroidered?
In theory, yes, any TrueType font can be processed. In practice, small text, dense fabrics, and thin thread weights all affect whether it stays readable.
The Final Verdict
Fonts on your computer are math. Embroidery is motion. Font digitizing for embroidery is the translation between the two.
Bézier curves hold the shape. Knots decide smooth or sharp. Branches turn shapes into sewing plans. Break lines and stroke order make complex characters possible.
Understand those pieces, and you'll know why some stitched lettering looks crisp, and why some doesn't.